

Introduction
Consolidants and primers are coatings used on powdery masonry to stop dusting and ready the wall for paint. Consolidants penetrate and bind loose material, while primers create a sealed, paint-ready surface. Choose based on the condition of the masonry and follow manufacturer instructions.
If the masonry is badly eroded or the joints crumble, repointing may be needed before painting. Always test a small area, read product labels, and follow local rules about moisture, ventilation, and surface preparation. If in doubt, consult the product instructions or a professional to avoid trapping moisture.
Key takeaways
- Assess powdering cause; treat soft surfaces before painting to prevent failure.
- Consolidants stabilize loose masonry but may not fix moisture; verify suitability.
- Primers improve adhesion and hide powder; choose breathable types for historic textures.
- Repoint first when mortar cracking and excessive moisture risk damage behind paint.
- Prepare surface by vacuuming loose material; rinse and dry bricks before coating.
- Safety: wear eye protection and masks; seal unstable areas and test compatibility.
Table of Contents
- Introduction
- Key takeaways
- Quick Decision Flow — Paint Now, Treat, or Postpone
- What Causes Masonry Powdering and Why It Matters for Paint
- When to Repoint First — Structural and Moisture Considerations
- Consolidants (Stone/Masonry Stabilizers): Purpose, Types, and Limits
- Primers for Powdery Masonry — Selection and Functions
- Surface Preparation and Step-by-Step Application Workflow
- Paint Selection, Compatibility and Long-Term Maintenance
- Tools and Materials Checklist, Safety and Troubleshooting
- Conclusion
- FAQ
Quick Decision Flow — Paint Now, Treat, or Postpone
Start with a quick visual check. Look for loose or powdery surface along with any visible cracks or hollow spots. If the masonry feels chalky, note it for the next steps.
Use a simple decision checklist to guide your actions: can you clean and dry the surface and still achieve good adhesion? If powdering is mild and the surface is solid, consider primers or consolidants. If there are signs of mortar failure or movement, postpone painting and address repairs first.
Rapid on-site tests to assess powdering
Before you decide what to do, check the severity of your masonry’s powdering. Here are some quick tests:
Visual Inspection: Look for areas with heavy dust or crumbling. If it’s widespread, you might need to postpone painting.
Tactile Test: Gently rub the surface with your hand. If it feels gritty and powder comes off easily, it needs treatment before painting.
Water Test: Sprinkle some water on the affected area. If it soaks in quickly or beads up, note that down for later decisions.
Decision triggers for immediate repair vs surface treatment
Some signs tell you to postpone painting and do repairs first. Here they are:
Structural Movement: If walls or joints are cracking or moving, stop. Get a professional’s opinion before proceeding.
Loose Mortar Beds: If mortar is falling out easily, you need to repoint before painting. Ignoring this can lead to bigger problems later on.
Active Salt Efflorescence: White, powdery salt deposits mean moisture is moving through the wall. Address this issue first; painting won’t help and might even trap moisture, causing more damage.
What Causes Masonry Powdering and Why It Matters for Paint
Powdering happens when the outer surface of the masonry loses cohesion, often from weathering or salt exposure. Freeze-thaw cycles can push surface grains loose and crumble.
Poor mortar or degraded finishes also contribute to dusting. When powdering occurs, paint must bond to a solid surface, so adhesion issues are likely without proper treatment. Check labels and manufacturer guidance for compatibility with your substrate.
Types of powdering and underlying mechanisms
Masonry powdering isn’t one-size-fits-all. Understanding the type helps you choose the right treatment.
Cement Bloom: A white, chalky layer that forms when excess cement rises to the surface. It’s harmless but needs removing before painting.
Lime Dust: Fine powder from lime in mortar. It’s usually minor but can be a sign of deeper issues if extensive.
Efflorescence: White, salt-like deposits caused by water moving through the masonry and carrying salts to the surface. It needs addressing to prevent paint peeling.
Substrate Disintegration: When the masonry itself is crumbling. This requires repointing or other repairs before painting.
Long-term risks of painting without addressing powder
Slapping paint on powdery masonry might seem quick, but it’s a recipe for disaster.
Rapid Coating Failure: Paint won’t stick to powder. It’ll peel off in sheets, leaving you with more work and wasted money.
Trapped Moisture: Powdery surfaces can trap moisture. This leads to mold, mildew, and further damage behind your paint job.
Accelerated Substrate Decay: Ignoring powder lets moisture and salts keep working on the masonry. It’ll decay faster, leading to costly repairs down the line.
When to Repoint First — Structural and Moisture Considerations
Repointing should precede painting when joints are loose, cracked, or highly permeable. If mortar has degraded visibly, addressing it now helps prevent moisture pathways.
Wall movement or persistent dampness are signals to repair before coating. Verify with local guidance or a professional if you’re unsure about mortar stability or drainage before sealing the wall.
How to assess mortar condition and compatibility
Before you start repointing, check your mortar’s condition. It’s crucial to match the historic mortar type to avoid incompatible repairs.
Check hardness: Use a pick hammer or screwdriver. Hard mortar should resist bending. Soft mortar may crumble.
Check bond: Look for good contact between bricks and mortar. Poor bonding can lead to failure.
If unsure, take samples to a lab. They can analyze the composition and advise on matching materials.
Repointing timing relative to coatings and curing checks
Timing is key when it comes to repointing and applying coatings. You need to ensure the mortar is fully cured before painting.
Follow your mortar’s datasheet for cure times. Typically, it takes 28 days in ideal conditions, but this can vary.
Perform spot tests: After the initial cure period, perform a water test on a small, hidden area. Apply water and check for absorption. If water beads or doesn’t absorb within 10 minutes, your mortar isn’t ready.
Also, check for salt leaching. This can occur up to six months after repointing. If you see white deposits, wait until they’ve disappeared before painting.
Consolidants (Stone/Masonry Stabilizers): Purpose, Types, and Limits
Consolidants are used to stabilize friable masonry surfaces. They penetrate and bind surface grains to reduce dusting and improve handling quality for coatings.
There are different chemistries; some are suited to porous stone while others target brick or mortar. Check product data sheets and manufacturer instructions to confirm suitability for your material and climate.
Matching consolidant to substrate porosity and salt presence
Consolidants work best when they penetrate deep into the masonry. But, different substrates have varying porosities. Some are too dense, others too loose. Soluble salts can also cause issues.
Porosity: Too dense, consolidant won’t penetrate. Too loose, it might not stick. Pre-treatment testing helps find the right fit.
Salts: Some consolidants react with salts, causing more damage. Test for salts before applying any product.
Application methods, penetration checks and visual checkpoints
Before you start, know this checklist helps ensure proper consolidation. Use it after prepping the surface.
- Brush application: For small areas or detailed work. Dip brush, apply evenly.
- Low-pressure spray: Covers large areas quickly. Keep nozzle 6-12 inches away.
- Wetness check: Substrate should look uniformly damp, not wet or dry.
- Penetration test: Scratch surface lightly after 30 minutes. Consolidant should have penetrated at least 1/8 inch.
- Moisture content: Check for excess moisture. Too much can dilute consolidant, too little won’t allow penetration.
- Salt efflorescence: Look for white residue after application. If present, re-test for salts.
- Curing time: Allow proper curing before painting. Typically 24-72 hours.
- Final visual check: Surface should look uniform, no bare spots or over-saturated areas.
Quick rule: If you skip these checks, consolidant might not work as expected, wasting time and money.
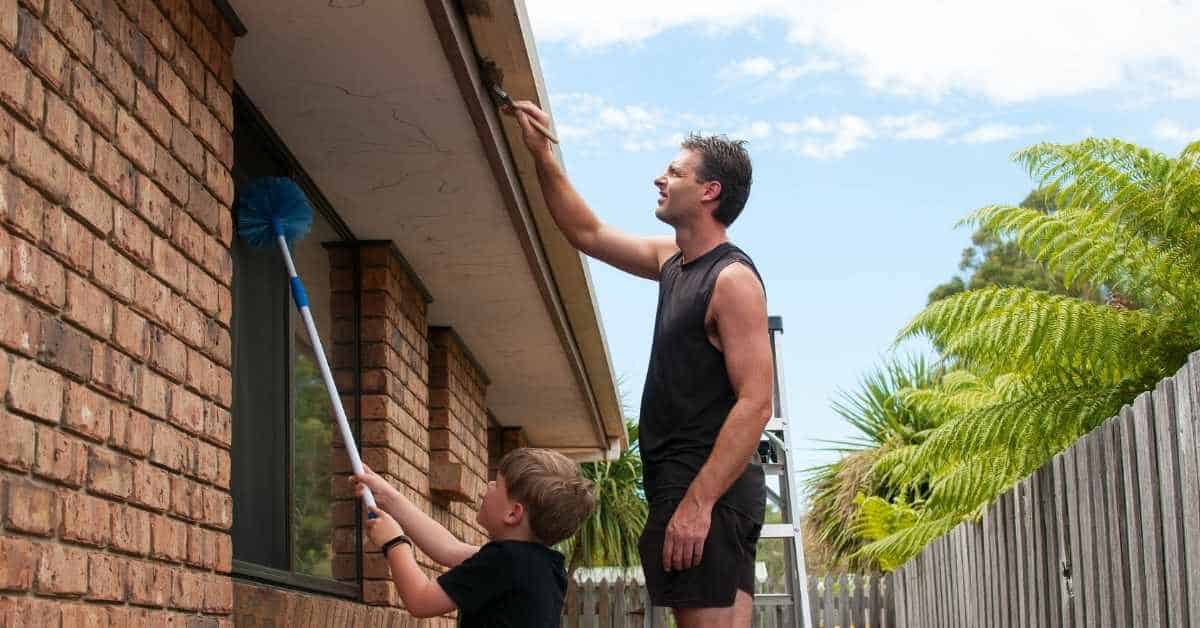
Primers for Powdery Masonry — Selection and Functions
Primers help improve adhesion and seal minor porosity after consolidation or on lightly powdery surfaces. They can also act as moisture barriers in some systems.
Consider whether your primer allows vapor permeability and is compatible with the topcoat you plan to use. Always verify with the product label or the manufacturer’s instructions for your substrate and climate conditions.
Types of primers (sacrificial, adhesion-promoting, breathable)
Primer types vary to suit different masonry conditions. Here’s what you need to know:
Sacrificial primers protect the surface by absorbing moisture and salts. They’re ideal for lightly powdery surfaces with no structural issues.
Adhesion-promoting primers create a better bond between your masonry and paint. Use these when you’ve already addressed any powdering or moisture problems.
Breathable primers allow water vapor to pass through, preventing trapped moisture from causing further damage. They’re crucial for older or porous masonry.
How to test primer effectiveness before full application
Before applying primer across your entire surface, conduct small-area trials:
1. Apply the primer to a hidden or inconspicuous area.
2. Perform an adhesion test: use a sharp tool to score the surface into a crosshatch pattern, then apply painter’s tape and pull it off. If the primer sticks, it’s adhering well.
3. Observe for any signs of failure like peeling, flaking, or discoloration. If none appear after 24 hours, your primer is likely effective.
Surface Preparation and Step-by-Step Application Workflow
Begin with cleaning to remove salts, dust, and loose material. Rinse and let the surface dry fully before any treatment.
Follow with a test patch to evaluate adhesion and drying times. Apply consolidant or primer according to the label, then allow proper curing before painting and final checks for residue or tackiness.
Step-by-Step Process
This section guides you through the practical steps to prepare and treat your powdery masonry surface, ensuring a solid foundation for painting.
- Inspect the area: Check for any loose or crumbling mortar. If found, repoint before proceeding (see When to Repoint First).
- Safety first: Wear appropriate PPE – gloves, goggles, and a dust mask.
- Remove loose material: Use a stiff-bristle brush or wire brush to remove any loose powder or debris.
- Apply consolidant: Follow the manufacturer’s instructions for mixing and application. Ensure even coverage using a paintbrush or roller.
- Allow curing: Let the consolidant cure according to the product’s guidelines before applying primer (usually 24-72 hours).
- Test patch primer: Apply a small test patch of primer to ensure compatibility with the consolidant and paint. Allow it to dry as per instructions.
- Apply primer: Using a brush or roller, apply the primer evenly across the surface. Follow the manufacturer’s drying time before painting (usually 4-24 hours).
- Paint application: Apply your chosen paint in even coats, following the manufacturer’s guidelines for drying and touch-up.
- Final inspection: Once fully cured, inspect your work. If any issues arise, consult a professional painter or mason.
Cleaning, salt control and drying strategies
Thorough cleaning is crucial to ensure your consolidant and primer adhere properly. Here’s how:
Remove loose dust and debris: Use a stiff-bris