

Introduction
Mixing gypsum basecoat for patches means preparing a plaster-like mix by combining gypsum with water to arrive at a workable, patch-ready consistency. Follow the product label and manufacturer instructions to determine the proper water amount and mix texture. Check local rules or codes if they govern patch work or setting times in your area.
Set control comes from mixing to the recommended consistency and using it within its pot life, then applying before it stiffens. Do not re-temper or remix once it begins to set; this can weaken the patch and cause cracking. Prepare the area, apply in thin, even coats, and discard any mix that has started to stiffen beyond the manufacturer’s guidance.
Key takeaways
- Understand gypsum basecoat mixing; wear PPE for patch durability and safety.
- Measure water precisely using labeled containers and manufacturer guidance for consistent set and finish.
- Use clean tools, non-dusty mixing pails, and follow set-control instructions.
- Do not retemper mixed basecoat; once set, reject re-wetting and remixing.
- Accelerators/retarders require manufacturer guidance; ambiguous choices risk cracking or dusting.
- Visual checkpoints: cohesive color, uniform texture, edge feathering, and no slurry pooling.
Table of Contents
- Introduction
- Key takeaways
- Why Correct Mixing Matters
- Tools and Materials Checklist
- Material Specs and Standards Explained
- Measuring Water Ratios (How to Measure, Not Invent)
- Step-by-Step Mixing Procedure
- Set Control: Accelerators, Retarders, and Additives
- No-Retemper Rules and Risks of Rewetting
- Troubleshooting and Visual Checkpoints
- Conclusion
- FAQ
Why Correct Mixing Matters
Proper mix consistency affects how well gypsum basecoat bonds to the substrate and resists cracking. You’ll get better strength and durability when the water-to-powder balance is right for the product you’re using. Incorrect mix can lead to delamination or premature patch failure.
Understanding why the mix matters helps you avoid common failures in the field. Pay attention to how the material sets and how long it remains workable. The right approach protects your patch from future wear and pop-outs.
Performance consequences of poor mix
Incorrect water ratio and mixing technique can lead to a weak, crumbly gypsum basecoat that doesn’t bond well with the existing surface. This results in patches that are prone to cracking, delamination, or even falling off completely.
Too much water speeds up setting time but makes the patch weak and brittle. Too little water leaves the mix dry and hard to apply, leading to an uneven surface with voids that can’t support weight.
Proper mixing ensures a consistent, workable basecoat that bonds strongly, stays flexible enough to handle minor substrate movement, and provides long-lasting durability.
Patches versus full coats — what changes
When patching small areas, you’re working with a thinner layer of gypsum basecoat compared to full-surface applications. This means your mixing and application techniques need to be more precise.
For patches, focus on getting the right water ratio for a smooth, easily spread mix. Too thick or too thin can lead to application issues and poor results.
Setting time is also affected by thickness. Thinner layers set faster, so you’ll have less working time before the patch hardens. Keep this in mind when mixing and applying your basecoat.
Finally, expect some differences in finish between patched areas and full coats. To minimize these, feather out the edges of your patches to blend with the surrounding surface as much as possible.
Tools and Materials Checklist
Gather a clean bucket, mixing paddle, and a reliable measuring device. Have PPE and a clean workspace to keep dust and splashes under control. Substrate prep supplies should be on hand so you can start with a solid base.
Keep extra towels, a spray bottle for dampening if needed, and a stopwatch or timer handy. Choosing the right tools makes repeatable mixes easier and safer for you and the job.
Mixing equipment and measuring tools
Before you start mixing, make sure you have the right gear. This checklist helps ensure consistent, quality results.
- Bucket: Use a 5-gallon bucket for small jobs, or larger ones for bigger patches. Ensure it’s clean and dry to prevent contamination.
- Paddle mixer or hand tools: For small batches, use a hand trowel or putty knife. Larger mixes need an electric paddle mixer to ensure thorough blending.
- Measuring device: Use a scale for precise measurements by weight, or a marked container if volume is your method. Inconsistent measuring leads to poor mix quality.
- Watering can or spray bottle: For controlled water addition. Dumping water directly into the mix can cause uneven consistency.
- Tape measure: To ensure you’re adding the correct amount of water based on the product’s recommended ratio.
- Timer (optional): Some products require mixing for a specific duration. A timer helps avoid under- or over-mixing.
- Safety glasses: Protect your eyes from debris during mixing and application.
- Gloves: To protect your hands from the mix and any chemicals in the product.
Quick rule: Always check your gear before starting. Missing something can lead to poor mixes or safety hazards.
Materials and product selection
Choosing the right materials is crucial for a successful patch job. Here’s what to check before you start mixing.
- Gypsum basecoat product: Ensure it’s suitable for your substrate and application. Check the data sheet for recommended uses.
- Primer or bonding agent: Select one that matches the gypsum basecoat to ensure proper adhesion and compatibility.
- Sand (if required): If adding sand for texture, make sure it’s clean, dry, and the correct grit size for your product.
- Fiber reinforcement (optional): If using fibers, ensure they’re compatible with your gypsum basecoat and follow recommended addition rates.
- Accelerator or retarder (if required): Check the package instructions for proper use and storage of any additives to control set time.
- Substrate prep materials: Have your sandpaper, scraper, or other prep tools ready to ensure a clean, receptive surface for the patch.
- Protective coverings: Cover nearby surfaces with drop cloths or plastic sheeting to protect them from spills and splashes.
Quick rule: Always check your materials against the product data sheet. Using incompatible products can lead to poor adhesion, delamination, or other issues.
Material Specs and Standards Explained
Know where to look for the product’s water recommendations and pot life in the label, data sheet, or manufacturer instructions. Look for notes about substrate conditions that are allowable for applying the basecoat. This helps ensure you follow the intended performance path.
Verify any limits on temperature, humidity, or surface preparation as stated by the manufacturer. If in doubt, check the product documentation or reach out to the supplier for guidance before mixing.
Understanding manufacturer data sheets
The manufacturer’s data sheet is your Bible for mixing gypsum basecoat. It tells you exactly how to get the job done right.
First, look for the water recommendation. This is crucial. Too much water weakens the patch, too little makes it crumble.
The data sheet also lists the pot life. That’s how long your mix stays usable after you start. Don’t ignore this. Once it sets, you can’t retemper.
Lastly, check the allowable substrate conditions. If your surface doesn’t meet these, fix it before mixing.
When to consult standards and tech support
Most jobs are straightforward. But sometimes you need extra help.
If your job’s got unusual ambient conditions, like extreme heat or cold, don’t guess. Call the supplier or tech support.
For large or structural repairs, you’re dealing with big forces. You need expert advice to get it right.
If the data sheet’s unclear, don’t wing it. Contact the manufacturer. They want you to succeed and will guide you through.
Measuring Water Ratios (How to Measure, Not Invent)
Use a precise method to measure water, such as a scale or a calibrated container. This reduces guesswork and improves repeatability across patches. Always refer to the product instructions for the recommended approach.
Mixing by weight or a marked measuring vessel helps you stay consistent from batch to batch. If a spec isn’t clear, compare labels or data sheets to confirm the method suggested by the manufacturer.
Volume versus weight measurement
The best way to measure water for your gypsum basecoat is by weight. It’s more accurate, like using a scale at the bakery.
But on-site, you might not have that luxury. So, use a calibrated container instead. Fill it up, pour it out, repeat until you’ve got the right amount.
Pro tip: Always check your product’s instructions first. Some manufacturers prefer weight measurement, others volume. Follow their lead.
Adjusting for temperature and humidity
The weather can mess with your mix. Hotter or drier days need less water. Cooler, wetter ones need more.
But don’t just guess. Make small adjustments based on the conditions. A little less water in the heat, a little more when it’s damp.
Rule of thumb: For every 10°F change in temperature, adjust your water by about 5%. But remember, this is just a guide. Always check with the manufacturer first.
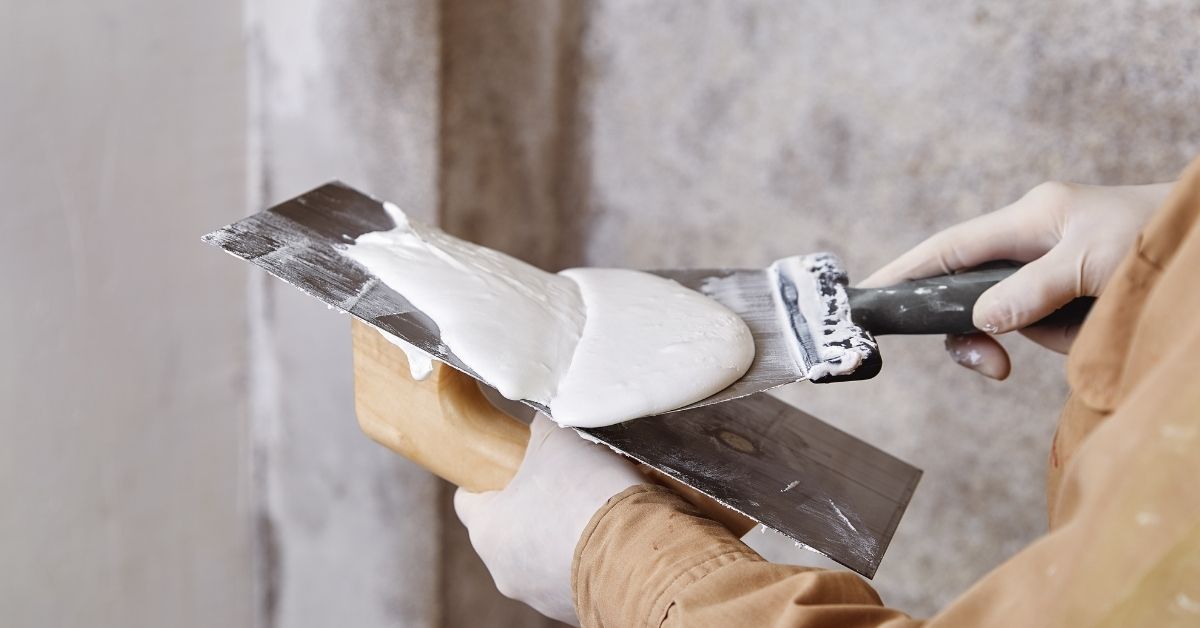
Step-by-Step Mixing Procedure
Start with clean water and a clean bucket to avoid contamination. Add the powder gradually and keep mixing until no lumps remain. Observe the mix until it holds a lump-free consistency that still flows enough to work into the patch.
Watch the pot life as you combine materials and proceed with application. If the mix thickens too quickly, stop and recheck your water amount according to the product’s guidelines.
Step-by-Step Process
Follow these practical steps to mix your gypsum basecoat for patches. This sequence ensures a lump-free, consistent mix ready for application.
- Preparation: Ensure all tools and materials are clean and dry. Put on safety gear – gloves, goggles, and a dust mask.
- Measure water: Use the manufacturer’s recommended ratio. Start with 3/4 of the total water needed to account for any absorption by the powder.
- Add powder: Slowly pour the gypsum powder into the water while mixing at low speed. This helps prevent lumps and ensures a consistent mix.
- Mixing: Increase mixer speed gradually, working up to medium-high. Mix until the consistency is smooth and lump-free, usually around 2-3 minutes.
- Final check: Stop mixing and observe the pot life. If it’s too thick or starts setting before application, adjust water ratio accordingly for future batches.
Batch mixing for larger repairs
When tackling bigger patches, mix in batches to maintain consistency and avoid overworking the material. Here’s how:
Batch size: Aim for no more than 50 lbs (22.7 kg) per batch. This ensures you can mix thoroughly without overworking.
Mixing motion: Use a consistent, figure-eight pattern with your mixing paddle to ensure all material is incorporated and there are no dry spots. Start at the bottom of the tub and work your way up.
Consistency check: Stop mixing occasionally to check for lumps or inconsistencies. If you find any, continue mixing until smooth. Remember, overmixing can cause the material to set too quickly, so keep an eye on pot life.
Small-patch hand mixing
For small patches, mixing by hand is efficient and helps avoid waste. Follow these steps:
Start with the manufacturer’s recommended water ratio. Pour about 2/3 of the water into a clean, dry bucket.
Slowly add the gypsum powder while stirring continuously with a strong, flat-bladed trowel or a mixing paddle attached to a drill running at low speed. This helps prevent lumps and ensures a consistent mix.
Once all powder is added, increase mixing speed gradually, working up to medium-high. Mix until the consistency is smooth and lump-free, usually around 1-2 minutes. Be careful not to overmix, as this can cause the material to set too quickly.
Set Control: Accelerators, Retarders, and Additives
Explore common set-control options and how they might alter working time and strength. Be aware of compatibility risks whe