

Introduction
Coastal metal accessories like beads and screeds that contact concrete are prone to corrosion from salt and moisture. This topic covers practical upgrades and isolation tricks you can use during DIY work. Treat it as a hands-on job: plan, protect, and seal where metal meets concrete.
Look for corrosion-resistant alloys or coatings and install a physical barrier between metal and concrete when possible. Check labels and manufacturer instructions for climate suitability and follow any local rules or best practices. If unsure, ask a supplier or reference the product guidance to pick a safe, DIY-friendly option.
Key takeaways
- Regularly inspect metal beads and screeds for early pitting near joints and seams.
- Use corrosion-resistant alloys or coated hardware compatible with coastal salt spray.
- Isolate metal accessories from concrete with proper barriers and sealants to reduce moisture transfer.
- Follow manufacturer specs for installation tolerances and warranty terms to avoid voids.
- Wear PPE during inspections and repairs to prevent injuries from sharp edges.
- Maintain a documented inspection/repair log and address issues promptly to reduce risk.
Table of Contents
- Introduction
- Key takeaways
- Why Coastal Zones Accelerate Metal Accessory Corrosion
- Typical Accessory Types, Failure Modes, and Visual Checkpoints
- Material Upgrade Options and How to Choose Them
- Coatings, Sealants, and Edge Protection Strategies
- Design and Installation Best Practices to Reduce Long-Term Risk
- Inspection, Maintenance, and Repair Workflow
- Tools, Materials Checklist and How to Read Specs and Warranties
- Troubleshooting Flow, Decision Guide, and Real-World Examples
- Conclusion
- FAQ
Why Coastal Zones Accelerate Metal Accessory Corrosion
Coastal environments expose metal accessories to salt spray and high humidity, especially when winds push moisture into crevices. The continual presence of salty air acts on exposed surfaces and can begin pitting or staining over time. Add in wind-driven moisture and pollutants, and corrosion risk rises for small profiles like beads and screeds.
Micro-environments such as capillary gaps, crevices, and edges trap moisture and slow drying. That creates localized wet zones where protective films break down sooner. The combination of these factors accelerates the corrosion process compared to inland conditions.
Electrochemical and galvanic basics relevant to beads and screeds
Corrosion is an electrochemical process. It happens when a metal loses electrons, forming an anode, and another metal gains them, becoming a cathode.
In coastal zones, saltwater acts as an electrolyte, facilitating this process. When different metals come into contact, like your steel screed and aluminum bead, galvanic corrosion occurs. The less noble metal (steel) becomes the anode, corroding faster.
Key takeaway: Saltwater + Different Metals = Faster Corrosion
Micro-environment contributors: moisture, deposits, and biological fouling
Crevices and gaps in your accessory details trap moisture. This persistent wetting creates ideal conditions for corrosion.
Salt spray deposits also concentrate electrolytes in these micro-environments. Wind-driven moisture can flush these deposits deeper into crevices, intensifying the problem.
Biological fouling, like algae or barnacles, can grow in these damp, salty spots. They produce acids that further accelerate corrosion.
Bottom line: Trapped moisture + Salt deposits + Biological growth = Accelerated Corrosion
Typical Accessory Types, Failure Modes, and Visual Checkpoints
Coastal installations commonly include external beads, screeds, trims, and edge profiles. These pieces are often the first to show exposure-related wear because they sit at interfaces and in crevices. Look for early signs such as discoloration or surface irregularities on the edges.
Common failure modes include pitting, staining, edge lifting, and fastener corrosion. Inspect fastener heads and adjacent joints for looseness or staining. Regular visual checks help catch problems before gradual structural impact occurs.
Common failure modes by profile and joint type
Use this checklist to identify typical failures based on your metal accessory’s profile and joint type.
- Exposed edge profiles: Check for pitting corrosion. This usually occurs where the metal is directly exposed to salt air or spray.
- Crevice joints: Look out for crevice corrosion. It often starts at laps and other tight spaces where moisture can accumulate.
- Bolted or screwed joints: Inspect fasteners for signs of corrosion. Mechanical failure may occur if not addressed.
Quick rule: Regularly inspect high-exposure areas and tight spaces to catch corrosion early.
Visual checkpoints for quick field assessment
Use this checklist during inspections to quickly assess the severity of corrosion and identify likely root causes.
- Surface discoloration: Look for staining or discoloration. This often indicates rust or other corrosion products.
- Edge lifting: Check for lifting or warping at edges. This could be due to corrosion or other issues.
- Fastener condition: Inspect fasteners for signs of corrosion or loosening. If ignored, they may fail suddenly.
Quick rule: Photograph or note any visible issues to track progress and plan repairs.
Material Upgrade Options and How to Choose Them
Material options in coastal settings typically include stainless alloys marketed for marine use, coated or galvanized steels, aluminum alloys, and non-metal composites. Each class brings different trade-offs in durability, weight, and compatibility with finishes. Your choice should balance exposure level with ease of maintenance.
Pros and cons hinge on how the material handles salt, moisture, and mechanical stress. Check manufacturer guidance and local recommendations to see how a material behaves in coastal climates. When in doubt, verify labels, data sheets, and installation notes before committing to a upgrade path.
Stainless and high-corrosion alloys—what to verify with suppliers
When considering stainless steel or other high-corrosion resistant alloys, don’t just pick the shiniest one. Here’s what you should check:
Marine-grade designation: Make sure it’s designed for marine use. Some stainless steels aren’t corrosion-resistant in chloride environments.
Corrosion performance data: Ask suppliers for data on their alloys’ performance in coastal zones. They should have test results to back up their claims.
Manufacturer recommendations: Consult with the manufacturer or local codes to ensure you’re using the right grade for your specific location and conditions.
Coated steels, aluminums, and composite alternatives
Barrier coatings, anodizing, and non-metallic profiles each have their own strengths and weaknesses in coastal exposure. Here’s what to expect:
Barrier coatings: These can extend the life of steel accessories but aren’t foolproof. They can chip or peel over time, exposing the metal underneath.
Anodizing (aluminum): This process increases aluminum’s natural resistance to corrosion. It’s more durable than barrier coatings but may not be as effective in severe coastal conditions.
Non-metallic composites: These are often the most expensive option but offer excellent corrosion resistance with minimal maintenance. They’re also lighter and easier to form than metal alternatives.
Coatings, Sealants, and Edge Protection Strategies
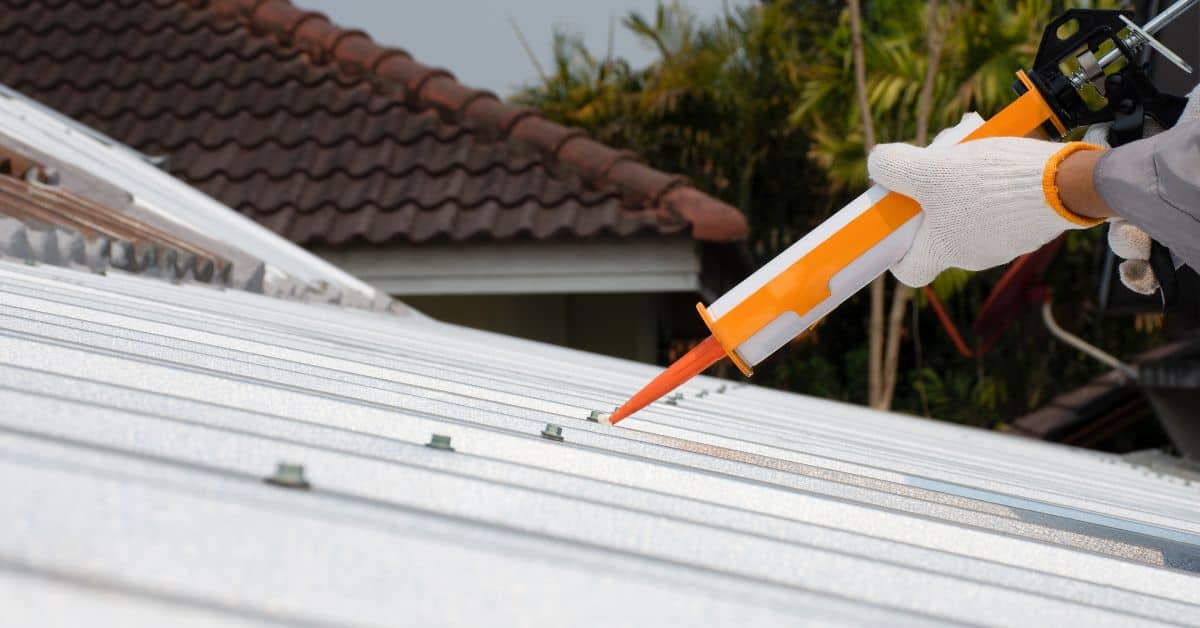
Coatings and sealants should be selected for compatibility with beads and screeds and for the coastal environment. Use edge coatings on cut edges to slow moisture ingress and minimize edge corrosion. Sealants should bond well with the chosen substrate and be suitable for exterior exposure.
Protecting cut edges is critical, as exposed edges act as moisture entry points. Always confirm compatibility between coating, sealant, and substrate materials with the product label or manufacturer instructions. Perform a spot test if you’re unsure about adhesion or weather resistance.
Sealant compatibility and joint detailing
Choosing the right sealant is crucial to prevent water intrusion. Read the data sheet for adhesion to both your accessory (bead or screed) and substrate.
Look for: Good initial adhesion, long-term cohesion, and resistance to UV, weathering, and marine growth.
Detailing matters too. Avoid trap points where water can pool. Use backer rods in wide joints to maintain a consistent joint width and prevent voids.
Protecting exposed cut edges and end details
Exposed metal edges are prime targets for corrosion. Finish them properly to reduce initiation sites.
Folded hems: Seal the edge with a compatible sealant before folding to prevent moisture ingress.
Edge coatings: Apply a suitable coating (like epoxy or polyurethane) to exposed edges after cutting, but before installation.
Cap trims: Use plastic or stainless steel cap trims to cover and protect exposed edges. Ensure they’re securely fastened and sealed at ends.
Design and Installation Best Practices to Reduce Long-Term Risk
Design details should promote drainage, drying, and minimize water retention near joints. Plan for overlaps and gaps that help channels shed water rather than trap it. Avoid overly tight fits that create capillary pull and slow drying.
During installation, reduce mechanical stress on accessories by aligning components properly and avoiding sharp corners at critical points. Check that fasteners, supports, and edge treatments match the chosen material and exposure level. Confirm compatibility with the building surface and intended coatings.
Drainage, slope, and ventilation considerations
Water’s got to go somewhere. In coastal zones, that means it needs to drain fast.
Slope your metal accessories downward. Aim for a 1/4 inch drop per linear foot. No flat horizontal pockets here!
Break up long runs with expansion joints or offsets. This gives water a chance to escape and reduces stress on the accessory.
Ventilation’s key too. Leave some space behind those profiles. Airflow helps dry out any trapped moisture and prevents salt buildup.
Minimizing crevices and designing for inspectability
Crevices trap moisture. Moisture plus salt equals corrosion. So, keep ’em to a minimum.
Use wide, open joints. They let water drain faster and allow air to circulate.
Round off sharp corners where possible. Sharp edges can collect deposits and start corrosion.
Make your work accessible for future inspection and maintenance. That means no hidden areas where moisture could build up unnoticed.
Inspection, Maintenance, and Repair Workflow
Establish a practical inspection routine triggered by visible changes or seasonal cycles. Prioritize high-risk areas such as joints, crevices, and exposed edges. Document findings with notes and photos to build a maintenance history.
When issues are found, decide on patching, recoating, or replacing based on severity, exposure, and budget. Keep a simple decision log that references material compatibility, warranty terms, and supplier guidance for each option.
Detecting early corrosion and prioritizing interventions
Use this checklist to spot early-stage corrosion and decide which repairs are most urgent.
- Discoloration: Rust-colored stains or white powdery deposits indicate corrosion. Use a magnet to confirm steel substrate.
- Pitting: Small, crater-like holes on the surface signal advanced localized corrosion. Measure depth with a feeler gauge.
- Flaking: Paint or coating peeling off in large sheets exposes metal to further damage. Check for underlying rust.
- Bubbling: Blisters under the paint or coating could hide active corrosion. Poke with a sharp