

Introduction
Have you ever wandered into a hardware store, feeling as though you’ve encountered a complex riddle while gazing at bags of polymeric sand? Worry not, as we’re here to unravel the intricate art of precision for your paver projects—because no one enjoys unexpected surprises at the checkout! Whether you’re an experienced DIY enthusiast or a newcomer venturing into the world of patios, accurately calculating the amount of polymeric sand you need is essential for achieving a polished outcome.
Imagine crafting an outdoor oasis, where each paver fits perfectly into the overall vision of your backyard retreat. This task goes beyond mere effort; it necessitates careful planning to ensure that every joint is filled with just the right amount of polymeric sand. After all, precision transforms a simple home improvement project into a stunning masterpiece.
In this guide, we will embark on a comprehensive exploration of the fundamentals—arming you with the necessary tools, techniques, and scientific principles to achieve that perfect equilibrium. From valuable expert insights to pitfalls to avoid, you’ll gain the knowledge needed to approach any paver project with confidence. So, gather your measuring tape and calculator, and let’s dive into the fascinating world of polymeric sand, where each tiny grain contributes significantly to the creation of your dream outdoor space.
Essential Materials and Tools for Calculating Polymeric Sand Needs
As you embark on the journey of calculating your polymeric sand requirements, it’s vital to equip yourself with the appropriate materials and tools. Think of this preparation as assembling your toolkit for a grand expedition; without the right items, you risk encountering unforeseen challenges—much like getting stuck in quicksand (pun intended!).
To help you get started, here’s a concise guide:
| Material/Tool | Description | Approximate Cost |
|---|---|---|
| Measuring Tape | This essential tool allows you to accurately gauge the dimensions of the area designated for your pavers. Precision here is critical for achieving your desired results. | $10 – $30 |
| Calculator | Whether digital or traditional, a dependable calculator will be invaluable for crunching numbers, ensuring you avoid any miscalculations in your sand requirements. | $5 – $25 |
| Polymeric Sand | The key ingredient for your project. Select a high-quality polymeric sand to enhance the durability and longevity of your installation. | $20 – $40 per bag |
| Broom | An essential implement for sweeping the sand into the joints effectively. A sturdy broom will help you achieve a clean and polished finish. | $15 – $40 |
| Level | Utilizing a level is crucial for establishing an even base, which is fundamental to the success of your paver installation. | $20 – $50 |
Investing in high-quality materials is essential for a successful outcome. Choose polymeric sand from trusted brands to ensure optimal binding and durability. When gathering your supplies, consider consulting local hardware experts for tailored advice or browsing online platforms for a wider array of options. Remember, quality tools not only minimize future headaches but also help prevent any potential sand mishaps down the line.
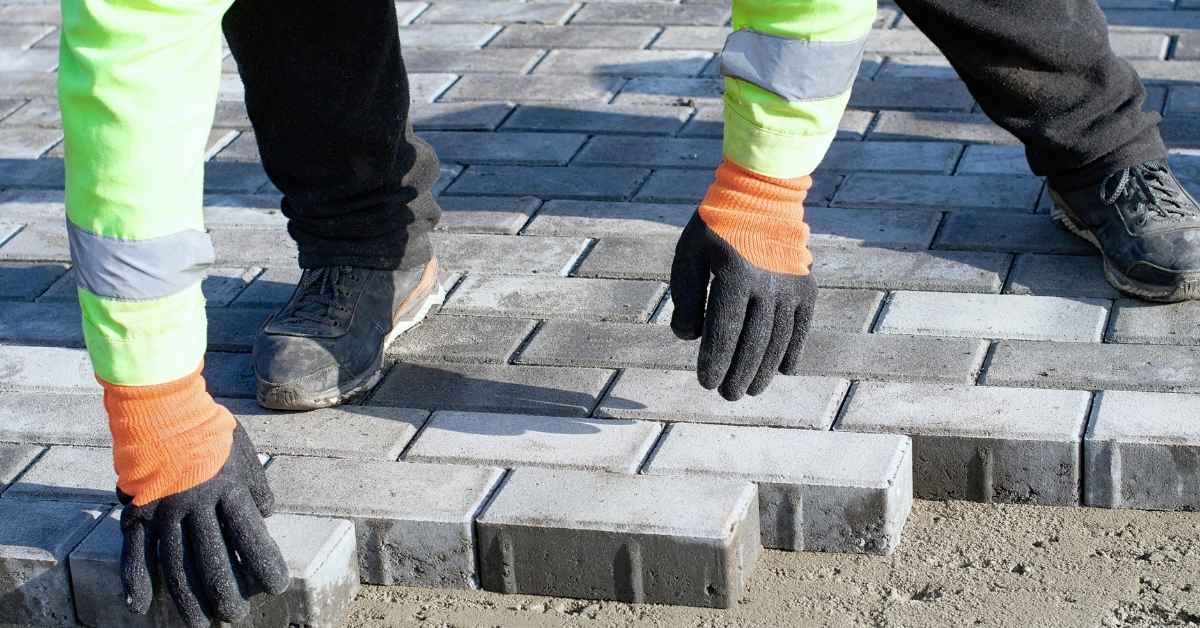
Planning Your Project Timeline for Paver Installation
Planning is an essential skill, akin to conducting a symphony where each component must harmonize perfectly. In the realm of paver installation, a carefully crafted timeline acts as your conductor, guiding every step of the process.
To effectively outline your project, consider the following stages:
- Research and Design (1-2 weeks): Begin by exploring various design ideas and gathering inspiration. This initial phase is crucial for defining the project scope and establishing achievable objectives.
- Material Procurement (1 week): After finalizing your design, compile a comprehensive list of all necessary materials and tools. Make your purchases and coordinate delivery schedules to ensure everything arrives on time.
- Site Preparation (2-3 days): Clear the designated area of any debris and ensure the ground is level. Proper site preparation is critical for facilitating a seamless installation.
- Installation (3-5 days): Lay the pavers, apply the polymeric sand, and position your pavers accurately. Be mindful of timing, especially in relation to weather conditions, as they can significantly impact your progress.
- Final Touches and Curing (2 days): Allow the polymeric sand to properly set and cure. During this period, it’s essential to protect the area from rain and avoid disturbing the surface.
It’s wise to include buffer days in your timeline to accommodate unforeseen delays, such as inclement weather or delivery issues. Maintaining a detailed schedule will help you avoid the pitfalls of rushing, which can lead to errors. A bit of foresight in your planning can greatly enhance the quality and professionalism of your finished project.
Step-by-Step Guide to Calculating Your Polymeric Sand Needs
Determining the precise quantity of polymeric sand may seem like deciphering an intricate puzzle, but there’s no need to worry! This comprehensive guide will illuminate the process and set the stage for your project’s triumph.
- Measure Your Area:
- Grab your reliable measuring tape and assess the length and width of the area designated for your paver installation. Multiply these figures to obtain the total square footage.
- Tip: If your space features irregular shapes, simply break it down into smaller rectangles or squares, calculate each section’s area, and then add them together for the complete measurement.
- Determine Joint Width and Depth:
- Pay close attention to the dimensions of the joints between the pavers, as they are vital for an accurate sand estimate. Measure both the width and depth with care.
- Common Pitfall: Overlooking the size of the joints can lead to significant miscalculations in your sand requirements, potentially complicating your project down the line.
- Calculate Sand Volume:
- Keep this essential guideline in mind: a standard 50-pound bag of polymeric sand typically covers approximately 30-40 square feet for conventional joint sizes.
- Utilize this formula for accuracy: Total Area × Joint Depth × Joint Width = Volume of Sand Required .
- Adjust for Waste:
- Be sure to add an additional 10% to your calculations to account for unavoidable waste and spills. This precaution ensures you won’t find yourself short during the installation process.
- Round Up:
- Since leftover sand can be useful for future projects, it’s wise to round your calculations up to the nearest whole bag. It’s always better to err on the side of caution!
By accurately executing these initial calculations, you can save time, money, and avoid unnecessary stress. Be sure to double-check your measurements and calculations before purchasing sand to ensure a seamless installation experience, akin to a perfectly laid paver surface.
Avoiding Common Pitfalls in Estimating Polymeric Sand
Even the most meticulous plans can falter if common errors in estimating polymeric sand go unaddressed. While mistakes can serve as valuable lessons, why not navigate around them instead?
Here’s a compilation of typical miscalculations and strategies to avoid them:
- Ignoring Joint Variability: Not every joint is uniform. Overlooking the differences in joint sizes can lead to either a surplus or a shortage of sand. Avoidance Tip: Measure several joints and calculate the average for more accurate estimations.
- Neglecting Waste Factor: Spills and waste are part of the process. Failing to factor this into your calculations can leave you short on materials. Avoidance Tip: Always include an additional 10% in your sand calculations.
- Overlooking Weather Conditions: Weather can significantly impact installation and curing times. Unexpected rain can wash away newly applied sand. Avoidance Tip: Monitor the weather forecast and aim for dry, calm days for your project.
- Underestimating Sand Density: The density of polymeric sand can vary based on moisture levels. Avoidance Tip: Refer to the manufacturer’s guidelines to understand best practices for adjusting density.
- Inadequate Area Measurement: Miscalculating the dimensions of your project area is a common mistake. Avoidance Tip: Recheck measurements and consider any irregularities or slopes in your layout.
By steering clear of these errors, you’ll not only conserve resources but also ensure a more polished and long-lasting finish. Remember, thorough preparation is essential to prevent a sandy predicament!
The Science Behind Accurate Polymeric Sand Calculations
What may seem like a straightforward task—calculating the amount of polymeric sand needed—actually involves a captivating blend of science and precision. Grasping these concepts can elevate your project from merely satisfactory to truly remarkable.
Let’s explore some key scientific principles:
- Granular Physics: The composition of polymeric sand features finely graded particles that interlock when moistened. This unique property facilitates robust joint stabilization while inhibiting weed growth. The essence lies in achieving optimal density for peak performance.
- Thermal Expansion and Contraction: Variations in temperature influence the behavior