
Table of Contents
- Introduction
- Why Choose a Gravel Shed Foundation?
- Selecting the Right Site for Your Gravel Shed Foundation
- Gathering Necessary Tools and Materials
- Preparing the Site for Installation
- Excavating the Site for Your Gravel Shed Foundation
- Constructing the Perimeter for Your Gravel Shed Foundation
- Finishing Touches and Maintenance
- Conclusion
- FAQ
Introduction
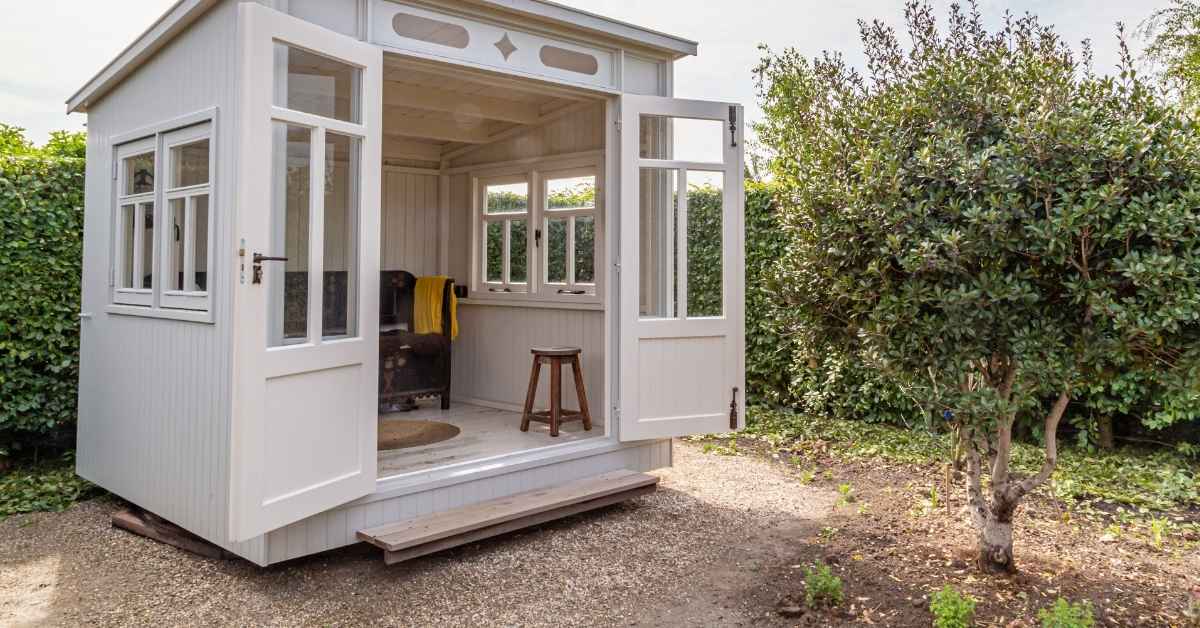
Building a solid foundation is crucial for any shed, and a gravel base offers a durable and cost-effective solution. In this guide, we’ll walk you through the essential steps to create a gravel shed foundation that ensures stability and longevity for your outdoor structure.
Why Choose a Gravel Shed Foundation?
Discover the advantages of selecting a gravel foundation for your shed, a choice that offers both durability and cost-effectiveness. In this section, we’ll delve into why gravel is an ideal option for ensuring a stable and long-lasting base for your outdoor structure.
Ease of Installation
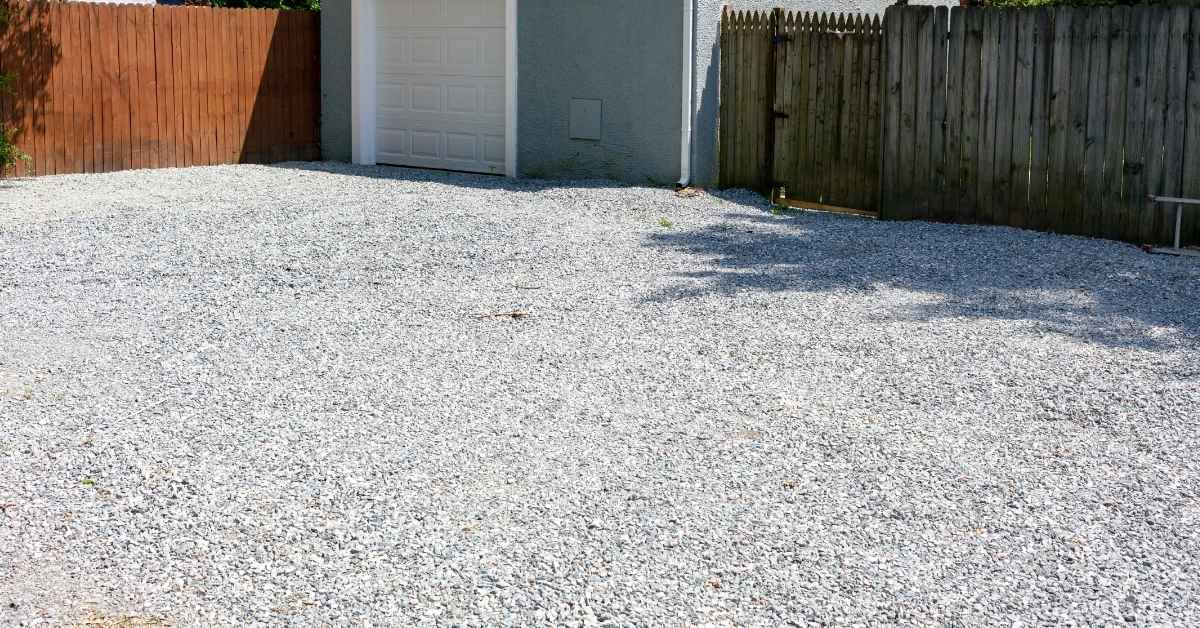
Installing a gravel shed foundation is straightforward and doesn’t require specialized skills. Unlike concrete, you won’t need to mix or pour anything. Just clear the area, lay down a weed barrier, and spread the gravel evenly. This simplicity makes it a great choice for DIY projects.
Gravel is forgiving. If you make a mistake, it’s easy to adjust. You can remove or add gravel until the surface is level. Just make sure to check base compaction to avoid future settling issues. A tamper or plate compactor will do the job well.
There’s no need to wait for anything to cure, unlike with concrete. Once the gravel is in place and compacted, you’re ready to build. This saves time and lets you move on to the next step without delay. Just remember, a well-prepared base means a sturdy shed.
Cost-Effectiveness
Gravel shed foundations are a smart choice for the budget-conscious. The materials are inexpensive compared to concrete or other options. You can get gravel at a fraction of the cost, making it a great option if you’re looking to save money. Plus, you don’t need specialized tools or skills to lay it down, which cuts down on labor costs.
When it comes to installation, you can do it yourself without hiring a contractor. Just make sure you check base compaction to ensure stability. A solid base means less maintenance down the line, saving you even more money. Don’t skimp on this step; a poorly compacted base can lead to uneven settling.
Another cost-saving aspect is that gravel allows for easy drainage, which prevents water damage to your shed. This means fewer repairs and a longer lifespan for your structure. So, if you’re looking for an affordable and effective foundation solution, gravel is the way to go.
Selecting the Right Site for Your Gravel Shed Foundation
Choosing the ideal location for your gravel shed foundation is crucial to ensure stability and longevity. This guide will help you assess your property to find the perfect spot for your shed, taking into consideration factors like drainage, accessibility, and ground level.
Consider Topography
When choosing a spot for your gravel shed foundation, start by looking at the topography of your yard. A level area is ideal because it simplifies construction and ensures stability. If your land isn’t flat, you’ll need to put in extra work to level it out. This might involve digging out high spots or filling in low areas. Don’t cut corners here—an uneven base can lead to structural issues down the line.
If you’re dealing with a slope, you have a couple of options. You can either excavate to create a level base or build a retaining wall to hold back the soil. Both methods require effort and precision. Make sure to check base compaction after leveling. A compacted base is crucial for preventing shifting and settling, which can damage your shed.
Also, think about water runoff. Water should flow away from your shed, not toward it. Poor drainage can lead to water pooling around your foundation, causing erosion or even flooding. Plan for proper drainage by sloping the ground away from the foundation or installing drainage pipes if necessary.
Check for Utility Lines
Before you start digging, make sure you check for utility lines. This isn’t just a suggestion—it’s a must. Hitting a gas line or water pipe can turn your weekend project into a disaster. Contact your local utility companies to mark the lines. It’s usually a free service, and it could save you a lot of trouble.
Once the lines are marked, plan your foundation layout to avoid them. Even if it means moving your shed a few feet, it’s worth it. You don’t want to be the person who knocks out the neighborhood’s power because you didn’t check. Safety first, always.
If you’re unsure about the markings or need help interpreting them, don’t hesitate to ask the utility company for clarification. Better to ask a few questions now than to deal with a costly mistake later. Remember, avoiding utility lines is non-negotiable when setting up your gravel shed foundation.
Local Regulations and Aesthetics
Before you start digging, make sure you know your local rules. Every area has its own set of building codes and zoning laws. Ignoring these can lead to fines or having to tear down your work. Visit your local government office or their website to check for any permits you might need. It’s better to spend a little time on this now than to face a big headache later.
Think about how your gravel shed foundation will look on your property. A shed that’s an eyesore can lower your home’s value and annoy your neighbors. Choose a spot that blends well with your landscape. Consider the view from your house and the street. A well-placed shed can actually enhance your property’s appearance.
Don’t forget about the practical side of things. Make sure the location you choose is easy to access and doesn’t interfere with other structures or utilities. A little planning goes a long way in making sure your shed is both functional and visually pleasing. Remember, a shed that looks out of place can be a real eyesore, so take the time to plan it right.
Gathering Necessary Tools and Materials
Before embarking on the construction of a gravel shed foundation, it’s crucial to gather all the necessary tools and materials to ensure a smooth and efficient process. This checklist will guide you through the essential items you’ll need to successfully complete your project.
Essential Tools
Having the right tools can make or break your project. Using both hand and power tools efficiently will save you time and ensure a quality finish. Here’s a list of what you’ll need.
- Hammer drill – Essential for drilling into tough surfaces like concrete or brick. Don’t skimp on quality here.
- Circular saw – Perfect for cutting large pieces of wood quickly. Ensure the blade is sharp for clean cuts.
- Measuring tape – Accuracy is key. Measure twice, cut once.
- Level – Keeps everything straight and even. A must for any alignment tasks.
- Screwdriver set – Versatile and necessary for assembling and disassembling components. Go for magnetic tips to save time.
- Adjustable wrench – Great for tightening or loosening nuts and bolts of various sizes.
- Utility knife – Handy for cutting through packaging, trimming edges, and more. Keep it sharp for safety.
- Safety goggles – Protect your eyes from dust and debris. Never skip on safety.
Pro tip: Invest in quality tools. Cheap tools can break easily and make your job harder. They can also be dangerous to use.
Required Materials
To build a solid foundation, you need the right materials. Each component plays a vital role in ensuring stability and longevity. Here’s what you’ll need:
- Crushed Gravel: Provides a stable base and helps with drainage. Look for gravel with a mix of sizes for better compaction.
- Fine Sand: Fills gaps between gravel pieces and aids in leveling the surface. Washed sand is best to avoid impurities.
- Concrete Mix: Essential for binding the foundation. Choose a mix with the right strength for your project, typically 3000 psi or higher.
- Rebar: Reinforces the concrete, preventing cracking. Use the correct diameter and spacing as per your foundation’s design.
- Plastic Sheeting: Acts as a moisture barrier, protecting the foundation from ground moisture.
Pro tip: Always check the quality of your materials before purchase. Poor quality gravel or sand can compromise the strength and durability of your foundation.
Preparing the Site for Installation
Before beginning the installation process, it’s essential to properly prepare the site to ensure a smooth and efficient setup. This involves carefully marking and measuring the designated area to guarantee accuracy and alignment.
Measuring and Adjusting for Slope
First things first, you need to know the slope of your site. Grab a long, straight board and a level. Place the board on the ground where you plan to install. Set the level on top of the board and adjust until it’s balanced. Measure the distance from the ground to the bottom of the board at the lower end. This tells you how much the ground drops over the length of the board. If it’s more than a couple of inches, you’ve got some work to do.
To adjust for slope, you can either dig down the high side or build up the low side. Digging is often easier and more stable. Remove soil from the high end and spread it evenly across the site. If you choose to build up, make sure to check base compaction. Loose fill will settle over time, leaving you with a crooked installation.
Don’t ignore the slope. It can lead to water pooling and structural issues. If you’re dealing with a big slope, consider hiring a pro. They can help with grading and drainage solutions. Remember, a solid foundation starts with a level surface.
Excavating the Site for Your Gravel Shed Foundation
Excavating the site is a critical step in preparing your gravel shed foundation. Proper excavation ensures that your foundation will be level and stable, providing a solid base for your shed. Follow these steps to ensure a successful excavation process.
- Mark the Area: Use stakes and string to outline the exact dimensions of your shed foundation. This will serve as a guide for your excavation and help ensure accuracy.
- Remove Topsoil: Begin by removing the top layer of soil, including any grass or vegetation. This will help prevent future growth that could disrupt the foundation.
- Dig to the Right Depth: Excavate the area to a depth of 4 to 6 inches, depending on your shed’s requirements. This depth allows for adequate gravel fill and drainage.
- Check for Level: Use a level to ensure the bottom of the excavated area is even. Adjust as necessary to maintain a flat surface, which is crucial for stability.
- Inspect for Drainage: Make sure the excavated area slopes slightly away from the center to facilitate water runoff, preventing pooling and potential damage.
- Compact the Soil: After excavation, compact the soil using a hand tamper or plate compactor. This provides a firm base and reduces the risk of settling.
- Remove Debris: Clear the area of any rocks, roots, or debris that could interfere with the gravel base. A clean surface ensures better compaction and stability.
Ensuring Proper Drainage
Proper drainage is vital to prevent water from pooling around your shed, which can lead to erosion and damage. Consider installing a French drain or sloping the surrounding ground to direct water away from the foundation. This proactive measure will help maintain the integrity of your shed over time.
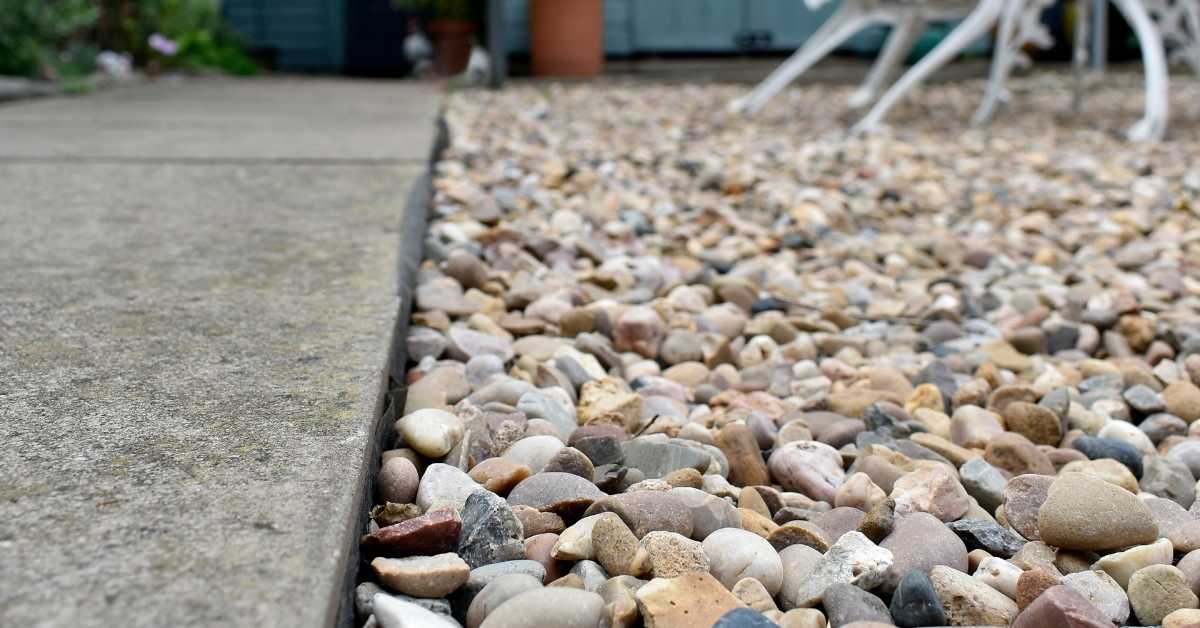
Constructing the Perimeter for Your Gravel Shed Foundation
Creating a well-defined perimeter is essential for maintaining the shape and stability of your gravel shed foundation. This step ensures that the gravel remains contained and provides a clear boundary for your structure. Follow these guidelines to build a sturdy perimeter that supports your shed effectively.
- Choose Suitable Materials: Opt for pressure-treated lumber, concrete blocks, or landscape timbers to construct the perimeter. These materials are durable and resistant to decay, making them ideal for outdoor use.
- Measure and Mark: Use a measuring tape to accurately outline the dimensions of your shed. Mark the corners with stakes and run string lines between them to ensure straight edges.
- Level the Ground: Before placing the perimeter materials, ensure the ground is level. Use a shovel and a level to adjust any uneven areas, providing a stable base for the perimeter.
- Secure the Corners: For added stability, reinforce the corners of the perimeter. Use metal brackets or corner stakes to connect the materials securely, preventing them from shifting over time.
- Check for Squareness: Confirm that the perimeter is square by measuring diagonally from corner to corner. Adjust as necessary to maintain right angles, ensuring a precise fit for your shed.
- Anchor the Perimeter: Drive stakes into the ground along the perimeter to anchor the materials firmly. This prevents movement and maintains the integrity of the foundation.
- Backfill and Compact: Once the perimeter is in place, backfill any gaps with soil or gravel. Compact the fill material to provide additional support and prevent settling.
Final Inspection
After constructing the perimeter, perform a final inspection to ensure everything is secure and level. This step is crucial for preventing future issues and ensuring your shed has a solid foundation to rest upon.
Finishing Touches and Maintenance
Completing the installation process involves adding the final touches to ensure a polished look and optimal performance. Regular maintenance is essential to preserve the foundation’s integrity and keep it in top condition for years to come.
Tamping and Securing the Foundation
Before you move forward, make sure to check base compaction. Tamping the foundation is crucial. It ensures your base is solid and won’t shift over time. Use a hand tamper or a plate compactor to press down the soil or gravel. Go over the area multiple times until it’s firm and level. A loose foundation is a recipe for disaster.
Once tamping is complete, it’s time to secure the foundation. Drive stakes into the ground around the perimeter. These stakes will hold everything in place. Make sure they’re deep enough to withstand pressure and weather changes. If you skip this step, you risk the foundation moving, which can lead to structural issues. Don’t cut corners here.
Conclusion
Building a gravel shed foundation isn’t just about laying down some stones. It’s about creating a stable, long-lasting base for your shed. You’ve learned how to choose the right site and gather the right tools. Skipping these steps can lead to problems down the road. A poorly prepared site will cause your shed to shift or settle unevenly.
Excavation and building the foundation are where you need to pay attention. Make sure the ground is level and compacted. If you rush or cut corners here, you’ll regret it later. A solid foundation means your shed will stand strong for years.
Finally, don’t forget the finishing touches and maintenance. Keep the area around your shed clear of debris and check for any settling over time. A little upkeep goes a long way in preserving your hard work. Remember, a well-built foundation is the key to a durable and reliable shed.
FAQ
Do I need a permit for a gravel shed foundation?
Check with your local building authority. Some places require permits for any foundation work. It’s better to be safe than sorry.
How deep should the gravel foundation be?
A gravel foundation should be about 4 to 6 inches deep. This depth provides good drainage and support for most sheds.
Can I use any type of gravel?
No, not all gravel is the same. Use crushed stone or gravel that compacts well, like 3/4-inch crushed stone. Avoid round pea gravel; it doesn’t lock together.
Do I need to compact the gravel?
Yes, always compact the gravel. A compacted base prevents shifting and settling. Skipping this step can lead to an uneven shed.
Should I use landscape fabric under the gravel?
Yes, use landscape fabric to prevent weeds from growing through the gravel. It also helps with drainage and keeps the gravel in place.