
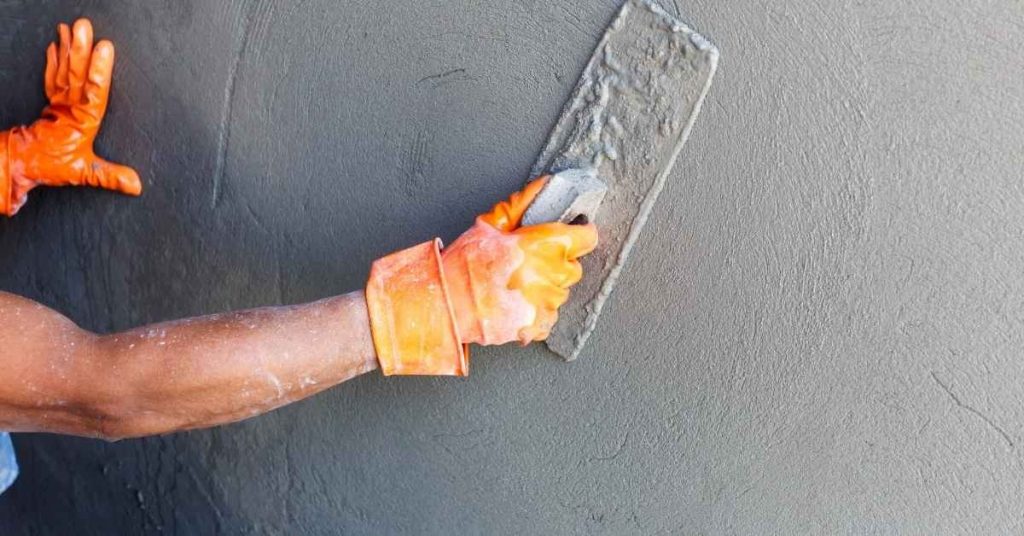
Introduction
Drywall texture matching is the process of reproducing a wall’s texture so new work blends with the old. It covers orange peel, knockdown, and skip trowel textures, whether you spray or hand‑apply. You’ll decide based on what you’re trying to reproduce and what tools you have on hand.
Start by inspecting the existing surface and making a small test patch to compare results. For spray textures, practice on a scrap board or a hidden area to dial in your technique before committing to the wall. If you’re hand‑applying, sketch out a plan and work in small sections, adjusting pressure and motion to imitate the neighboring texture.
Key takeaways
- Inspect existing texture under good lighting before choosing spray or hand methods.
- Test small patch first to adjust spray settings or joint compound thickness.
- Orange peel, knockdown, and skip trowel require different timing between coats.
- Mask, plastic containment, and ventilation are essential during spray work.
- Match texture by color and sheen before patching to avoid mismatches.
- Allow patches to dry per product instructions and revisit touch-ups safely.
Table of Contents
- Introduction
- Key takeaways
- Quick Visual and Functional Comparison of the Three Textures
- Tools and Materials Checklist (Spray and Hand)
- Choosing DIY Spray Vs. Hand Techniques
- Preparing the Wall and Patching for a Match
- Orange Peel — DIY Spray and Hand Approaches (Step-by-Step)
- Knockdown — Spray and Hand Techniques with Timing Tips
- Skip Trowel — Hand-Dominant Workflow and Faux Approaches
- Matching Existing Texture and Blending Repairs (Visual Checkpoints)
- Conclusion
- FAQ
Quick Visual and Functional Comparison of the Three Textures
Orange peel, knockdown, and skip trowel each have a distinct look and feel. You can identify them by texture density, height, and the way light plays across the surface. This intro helps you know which style suits your walls and your DIY comfort level.
Think about where the texture hides flaws and how forgiving the technique is for beginners. Some textures work better in high traffic areas or ceilings, while others hide patch work more effectively. When in doubt, check product guidelines and local rules before choosing a method.
Appearance and room-appropriate uses
Orange peel texture, named for its resemblance to the surface of an orange, creates a fine, uniform pattern. It’s commonly used in bedrooms, living rooms, and other spaces where a subtle, smooth look is desired.
Knockdown texture features deeper valleys and peaks, giving it a more dramatic appearance. It’s often chosen for ceilings or high-traffic areas like hallways and kitchens due to its ability to hide minor imperfections.
Skip trowel texture has wide, deep grooves that create a bold, architectural look. It’s typically used in commercial spaces or homes with an industrial aesthetic, but can also be used in large living rooms or entryways for a striking effect.
Skill level and finish tolerance
Orange peel is the easiest texture for beginners to match. Its fine, consistent pattern requires less precision than other textures.
Knockdown can be more challenging due to its varied depth. It takes practice to achieve a consistent knockdown look.
Skip trowel is the most difficult texture for DIYers. The wide, deep grooves require a steady hand and good technique to apply evenly.
Pros, cons, and maintenance considerations
Orange peel: Pros – Easy to apply, hides minor imperfections. Cons – Can show seams if not applied properly, may require more coats of paint.
Knockdown: Pros – Hides major imperfections, durable. Cons – More difficult to apply, can look too busy in small spaces.
Skip trowel: Pros – Creates a bold, unique look. Cons – Very labor-intensive to apply, shows every imperfection, requires more paint.
Tools and Materials Checklist (Spray and Hand)
Start with a compact list of essential tools for spray and hand application. Include a texture sprayer, baskets or hopper, extension hoses, and a cleanup kit. For hand work, gather a mud pan, mixing tough, taping knife, and a flexible blade for feathering edges.
Also include joint compound or texture mix, priming products, and drop cloths. When selecting equipment, consider room size and the capacity limits on the label or instructions. Always verify compatibility with your texture choice and local requirements.
Compounds and material specs explained
Before you start mixing or applying compounds, use this checklist to ensure you’ve got the right materials for your job. This will help you avoid common mistakes that can lead to costly rework.
- Pre-mixed vs. powder joint compound: Check if you need pre-mixed (ready-to-use) or powder (needs mixing). Pre-mixed is convenient but has a shorter shelf life, while powder offers longer storage and can be customized with additives.
- Viscosity: Check the product label for viscosity. Lower viscosity compounds are thinner and better for filling small gaps, while higher viscosity is thicker and ideal for wider gaps or embedding mesh tape.
- Additives: If using powder compound, check if you need to add water or other additives (like accelerators or retarders) based on manufacturer instructions. Additives can speed up or slow down drying time.
- Setting type: Check if the compound is fast-setting (dries in 24 hours), medium-setting (30-60 days), or slow-setting (90+ days). Choose based on your project timeline and local climate.
- Shrinkage: Check for low shrinkage properties to prevent cracking. Shrinkage can cause visible cracks, leading to rework and additional costs.
- Sand content: Check the sand-to-compound ratio. Higher sand content provides better strength but can make application more difficult. Lower sand content is easier to apply but may not provide as much strength.
- Temperature range: Check if the compound’s ideal working temperature matches your job site conditions. Applying in temperatures outside this range can affect drying time and overall performance.
- Humidity control: Check if the compound requires humidity control during application or drying. Improper humidity management can lead to poor adhesion, warping, or other issues.
Quick rule: Always check and follow manufacturer instructions for your specific joint compound. Skipping this step can result in improper mixing, application, and drying, leading to subpar results and potential rework.
Spray equipment and accessories
Before you start spraying texture on your walls or ceilings, use this checklist to ensure all your spray equipment is in top shape. This will save you time, material, and prevent costly rework.
- Texture Sprayer: Check the type – airless (piston pump) or air-powered (diaphragm). Ensure it’s suitable for your chosen texture compound. (Check manufacturer instructions)
- Nozzle: Inspect for wear and tear, replace if necessary. Choose the right size and type for your desired texture pattern. (Refer to ‘Compounds and material specs explained’ section)
- Hose: Check for leaks or cracks. Ensure it’s long enough to reach all areas without straining. (Typically 50-100 ft depending on job size)
- Air Filter (for air-powered sprayers): Clean or replace if clogged. A clean filter ensures consistent airflow and texture quality.
- Air Compressor (for air-powered sprayers): Check pressure – it should be within the range specified by your sprayer’s manufacturer. (Usually 90-150 PSI)
- Gun and Wand: Inspect for leaks or blockages. Ensure they’re compatible with your chosen nozzle.
- Texture Compound Hose (if applicable): Check for leaks, ensure it’s long enough to reach all areas without straining.
- Tip Cleaner: Have a tip cleaner ready to prevent nozzle clogging during breaks or at the end of the day. (What goes wrong if you skip this: Clogged nozzles lead to inconsistent texture and downtime for cleaning)
Quick rule: Always inspect your equipment before starting a new job. A few minutes spent checking can save hours of rework later.
Hand tools, knives and finishing gear
Before you start mixing or spraying concrete, make sure you have all the necessary hand tools and finishing gear at hand. This checklist will help you verify that you have everything needed for a smooth and professional finish.
- Trowels ( various sizes ): Check you have trowels in different sizes (e.g., 6″, 12″, 18″) to suit your project. Trowels should be straight, not warped or bent.
- Knockdown Knife: Ensure you have a knockdown knife for smoothing and leveling the concrete surface. The blade should be straight and sharp.
- Skip Trowel: Verify you have a skip trowel with a flexible, non-warped blade to create texture and improve traction on your concrete surface.
- Concrete Brushes ( stiff and soft ): Check you have both stiff-bristled brushes for scrubbing and soft-bristled brushes for final cleaning. Bristles should be intact and firmly attached.
- Hawks: Ensure you have hawks in the right size to hold and carry concrete mix. They should be clean, undamaged, and able to hold a consistent amount of mix.
- Sanding/Grinding Tools ( optional ): If your project requires a smooth finish, check you have sanding or grinding tools in good working order with suitable grits for concrete (e.g., 30-80 grit).
- Cleaning Supplies: Verify you have brooms, mops, and other cleaning supplies to keep your work area tidy and remove any excess concrete or debris.
- Finishing Float: Ensure you have a finishing float with a straight, smooth edge for leveling and smoothing the concrete surface. The handle should be secure and comfortable to use.
Quick rule: Always inspect your tools before starting work. Bent or damaged tools can cause uneven surfaces and rework, costing you time and money.
Choosing DIY Spray Vs. Hand Techniques
For larger rooms or rough patterns, spraying can cover faster and produce consistent texture. Hand methods give you control for small patches or tricky edges. Your choice affects cleanup and the level of finish you can tolerate.
Consider whether you will rent or own equipment, and how much you value speed versus precision. Check rental terms or manufacturer guidance to confirm what is practical for your space and budget. Verify any local rules about spray mist or ventilation if applicable.
When spray is the better option
Spraying drywall texture is ideal for large areas where a uniform, consistent finish is desired. It’s faster and easier to cover big spaces with a sprayer than by hand.
Large rooms, open floor plans, or entire walls are perfect candidates for spraying. The even application helps hide minor wall imperfections, creating a smooth, professional look.
Spraying also saves time when you need to match an existing texture. It’s easier to replicate the same pattern across a large area with a sprayer than by hand.
When hand methods are preferable
Hand application is best for small areas, intricate corners, or when you need fine control over the texture. It’s perfect for touch-ups, repairs, or creating unique patterns.
Small patches, complex corners, or accent walls are ideal for hand texturing. You can easily adjust the pressure and angle of your trowel to create different effects.
Hand application also allows for better control over the final finish, making it easier to match existing textures in smaller areas.
Cost, noise, and cleanup tradeoffs
The upfront cost of spraying vs. hand application depends on whether you rent or buy equipment. Renting is cheaper but limits your ability to reuse the equipment in the future.
Sprayers are noisier than hand tools due to their compressed air operation. They also require more masking effort to protect adjacent areas from overspray. Cleanup involves removing tape and washing out the sprayer.
Hand application, on the other hand, is quieter and requires less masking. However, it can be messier, with texture compound drips that need cleaning up. Both methods require proper disposal of used materials according to local regulations.
Preparing the Wall and Patching for a Match
Begin with a close wall inspection for cracks, dents, and peeling paint. Feather any edges so the new texture blends s