
Introduction
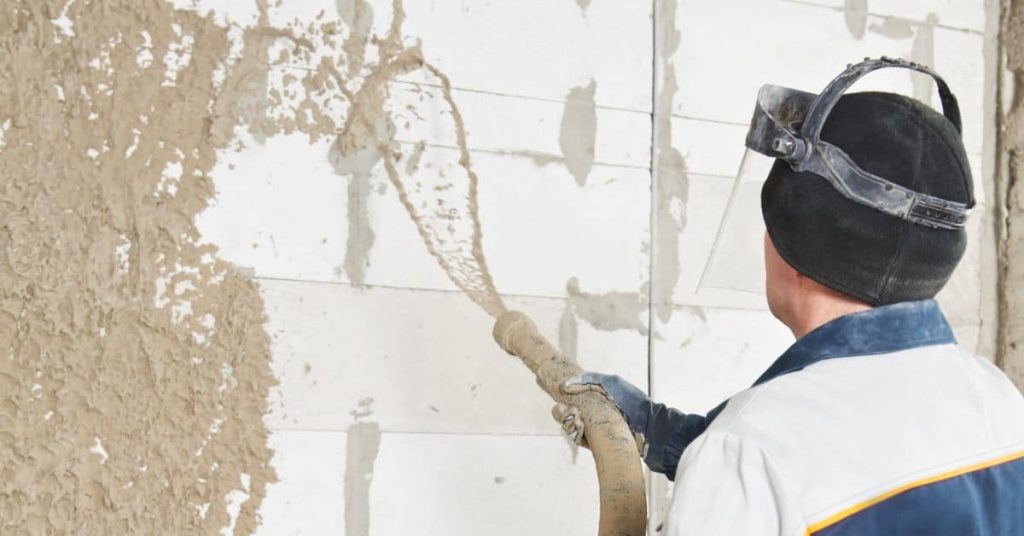
Cold-weather stucco patching is repairing damaged stucco surfaces during cold temperatures while ensuring the patch cures properly. This guide explains why curing conditions matter and how to set up the patch so it can harden without cracking. You’ll find practical, hands-on steps for a DIY approach.
Cure protection means controlling moisture, warmth, and shelter during the patching process. Relying on ‘it’ll be fine’ can lead to weak patches, cracks, or early failure when weather shifts. Always check product labels, manufacturer instructions, and local rules for safe timing and methods.
Key takeaways
- Cold weather slows stucco cure; protect patches from rapid moisture loss and freezing.
- Confirm substrate and surface moisture before patching to prevent adhesion failure.
- Use winter-grade mixes or cementitious patching using manufacturer guidance; avoid improvised blends.
- Keep curing protected with temporary shields and controlled moisture after patching.
- Monitor for cracks, popping, or debonding during cure; rework early to avoid failure.
- Safety: wear PPE, prevent ice buildup, and follow local codes and warranty terms.
Table of Contents
- Introduction
- Key takeaways
- Why Cold Weather Changes Stucco Cure and Strength
- When “It’ll Be Fine” Is Dangerous: Common Misconceptions and Failure Modes
- Assessing Site Conditions: Air, Substrate, and Moisture Factors
- Materials, Mixes, and Additives for Winter Patching
- Step-by-Step Cold-Weather Stucco Patching Procedure
- Temporary and Permanent Cure Protection Strategies
- Testing, Inspection, and Visual Checkpoints to Avoid Rework
- Codes, Warranties, Safety, and Cost Considerations
- Conclusion
- FAQ
Why Cold Weather Changes Stucco Cure and Strength
Low temperatures slow the chemical hydration process that concrete products rely on to gain strength. This can extend the time needed for patches to set and reach initial hardness. Early strength gain is important for resisting impact and weather exposure during the first days of cure.
In freezing conditions, water in the mix can change phase, causing microcracking or weaker bond development if moisture moves or freezes. The substrate, air flow, and surface temperature all influence cure rate and final strength, which matters for long-term patch durability. Always verify guidance on cure temperature ranges from the product label or manufacturer instructions.
Chemistry basics: hydration, temperature, and strength development
Cement’s hydration process, which gives stucco its setting and hardening properties, is significantly influenced by temperature. In cold weather, this reaction slows down.
Slower curing means the patch takes longer to reach its full strength, making it vulnerable to damage during this period.
To mitigate this, ensure proper curing procedures are followed in cold conditions. Check product datasheets for cold weather application guidelines and consider implementing protective measures or delaying application if temperatures drop below recommended ranges during cure.
Freeze-thaw and early-age damage mechanisms
In cold weather, freezing of pore water in the stucco patch can cause expansion, leading to cracking and scaling. Additionally, surface skinning – a rapid initial set due to brief exposure to warm temperatures – can occur, weakening the bond between the new patch and existing surfaces.
Thermal contraction during cooling also contributes to these issues. To prevent early-stage damage from freezing conditions, monitor temperature fluctuations and protect patches accordingly.
Inspect for cracks, scaling, or bond loss during the early stages of cure. If freezing temperatures occur before the patch has set, implement protective measures promptly to prevent damage. Repair damaged areas immediately to maintain structural integrity.
When “It’ll Be Fine” Is Dangerous: Common Misconceptions and Failure Modes
Assuming patches will perform the same as warm-season repairs leads to common mistakes. Patches may fail when contractors underestimate cold impact on adhesion and shrinkage. Homeowners sometimes delay protective measures, thinking temporary solutions suffice.
Typical failure modes in cold weather include premature loss of moisture control, surface cracking, and bond failures at the substrate interface. Freeze-thaw damage or rapid drying can undermine patch integrity even after initial set. Always check manufacturer instructions and local rules to confirm acceptable practices before proceeding.
Surface skinning vs deep cure — false confidence
The surface of your cold-weather stucco patch may look dry and cured, but that doesn’t always mean it’s properly cured internally. A deceptive surface can mask incomplete internal curing, leading to hidden weaknesses.
To ensure proper curing, inspect for consistent color and texture across the entire surface. If the surface appears dry but feels cool or damp to touch, re-evaluate your curing conditions and consider additional protection.
Common mistakes include assuming that a dry surface means it’s fully cured. To fix this, address any moisture-related issues promptly and reapply cure protection if necessary.
Bond failure, delamination, and rapid deterioration
Inadequate bond or trapped moisture can lead to serious issues with your cold-weather stucco patch. Delamination, powdering, or rework may occur within weeks or months, causing rapid surface degradation.
To prevent this, ensure proper substrate preparation, including cleaning, priming, and adequate surface area for bonding. Inspect for any signs of lifting, peeling, or powdering within the first few months.
If you notice signs of delamination or deterioration, investigate the cause (e.g., moisture intrusion, inadequate bond) and address it promptly. Common mistakes include rushing through substrate preparation. To fix this, remove affected areas, prepare the substrate properly, and reapply stucco with appropriate bonding techniques.
Assessing Site Conditions: Air, Substrate, and Moisture Factors
Start with a practical checklist of ambient air temperature, wind exposure, and recent weather. Observe surface moisture and presence of ice or damp substrates that could hinder adhesion. Record these observations for reference during the patch window.
Assess substrate stability, soundness, and existing stucco condition. Check for contamination, coatings, or efflorescence that might affect bonding. Verify acceptable ranges or requirements from product data sheets and manufacturer guidance before patching.
Measuring air, surface, and substrate temperatures correctly
Accurate temperature measurement ensures appropriate patching procedures are followed. Before starting any work, measure the air, surface, and substrate temperatures using a reliable thermometer or infrared (IR) device.
Consult the product datasheet to verify that these temperatures meet the manufacturer’s recommendations for application. If they do not, postpone work until conditions improve or implement temporary heat sources as per product instructions.
Do not rely on assumptions or estimates; always measure and verify temperatures using appropriate tools.
Moisture sources, evaporation, and wind effects
Understanding moisture dynamics helps prevent premature failure due to improper curing. Evaluate if current conditions allow for adequate patch drying and curing without protection.
Identify potential moisture sources such as precipitation, dew, or rising damp. Assess evaporation rates and wind conditions at the site. If moisture is present or evaporation/wind conditions are unfavorable, delay work until conditions improve, or implement temporary protective measures as per product instructions.
Do not proceed with patching if moisture cannot be effectively managed during the curing process.
Materials, Mixes, and Additives for Winter Patching
Materials, mixes, and additives for winter patching vary in performance and application. Compare options and choose based on how they handle cold temperatures, curing behavior, and the manufacturer’s guidance.
Skipping proper mixing of additives can lead to patch failure in cold weather; feel the consistency—smooth and uniform, not grainy, lumpy, or separated. An experienced installer ensures components are at the correct temperature before mixing, and if the texture feels grainy or separates, re-mix; if the temperature is below the recommended limit, heat materials gently until within range.
Choosing Stucco/Patch Materials: Cementitious vs Polymer-Modified
The choice of patch material significantly impacts the durability and longevity of your winter repairs.
- Cementitious Patches: Use for minor repairs, suitable in mild cold conditions. Look for products with good freeze-thaw resistance. Tip: Avoid using in extreme cold without protection.
- Polymer-Modified Patches: Ideal for severe cold and high wind conditions. Specify products with improved flexibility and adhesion. Tip: Check product labels for cold-weather suitability.
- Premixed Products: Convenient, especially in extreme cold. Ensure they meet your specific repair needs. Tip: Verify open time and cure time for cold conditions.
- Acrylic Patches: Good for small repairs in cold weather. Check for suitable curing temperatures. Tip: Avoid using in freezing conditions without proper protection.
- Epoxy Patches: Resistant to chemicals and moisture, useful in harsh conditions. Specify products with good freeze-thaw resistance. Tip: Follow manufacturer guidelines for mixing and application in cold weather.
Accelerators, Anti-Freeze Admixtures, and Set Controllers
Admixtures can enhance patch performance in cold weather but must be used carefully. They speed up or slow down setting times and improve freeze-thaw resistance.
Accelerators: Speed up cure time, protecting against early-age damage. Use in cold but not freezing temperatures. Follow manufacturer guidelines for dosage and handling.
Anti-Freeze Admixtures: Improve freeze-thaw resistance. Use in extreme cold conditions. Ensure compatibility with other materials and job site conditions.
Set Controllers: Slow down setting time, allowing better workability in cold weather. Use when extended open time is needed. Always follow manufacturer guidelines for dosage and handling.
Material Specs and Standards Explained for Winter Use
Understanding material specifications ensures appropriate product selection for cold-weather conditions. Check relevant test standards and manufacturer datasheets.
- Curing Temperatures: Verify suitable curing temperatures on product datasheets. Tip: Avoid products with high minimum cure temps in extreme cold.
- Open Time: Check open time for cold conditions to ensure adequate workability. Tip: Longer open times may be needed in colder temperatures.
- Coverage: Specify coverage rates based on job requirements. Tip: Adjust coverage expectations for cold weather application.
- Compressive Strength: Check ASTM C150 or EN 196-1 standards for required strength in cold conditions. Tip: Higher strengths may be needed for winter repairs.
- Bond Strength: Review ASTM C266 or EN 1348 standards for suitable bond strength. Tip: Stronger bonds may be necessary in harsh conditions.
- Freeze-Thaw Resistance: Check ASTM C474 or EN 13581 standards for required freeze-thaw resistance. Tip: Higher resistance may be needed for winter repairs.
Step-by-Step Cold-Weather Stucco Patching Procedure
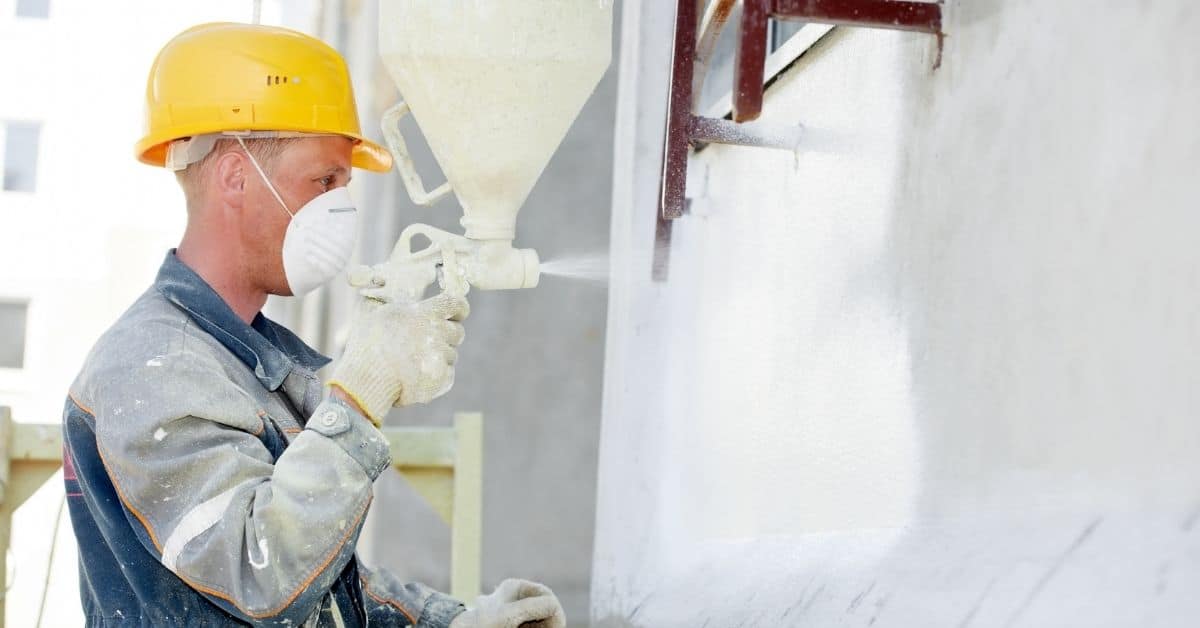
Prepare the site by clearing debris, masking nearby surfaces, and ensuring a protected work area. Ensure the substrate is clean, sound, and within the approved temperature range per product instructions.
Proceed with the patch application in manageable steps, maintaining appropriate moisture levels and avoiding cold drafts. After application, follow the recommended cure or protection steps per the product label and manufacturer instructions, documenting any deviations for future reference.
Step-by-Step Process
The following steps provide a clear sequence for cold-weather stucco patching, ensuring a well-structured approach from preparation to final checks.
- Preparation and Safety: Gather necessary tools, materials, and safety equipment. Ensure you have proper protection against the cold and moisture.
- Surface Inspection: Inspect the area for damage or defects. Mark out the patch area clearly.
- Cleaning and Removal: Remove any loose, damaged stucco using a stiff-bristle brush or scraper. Ensure the surface is clean and dry.
- Mixing Materials: Follow manufacturer’s guidelines to mix patch material at the correct temperature. Keep materials covered until use to prevent moisture loss.
- Application: Apply t