Plaster

Plaster is for cement-based and traditional plastering projects where a smooth or durable surface is the goal.

You’ll find guides on surface prep, bonding, scratch/brown/finish coats, patching, corner details, sanding and finishing, and how to avoid common issues like cracking, poor adhesion, and uneven texture.

If your project is “make this wall look right again,” this is the category to start with.

Hand holding a float tool smoothing plaster on wall

Traditional Plaster Corners Without Metal Bead: A Clean Corner-Float Method

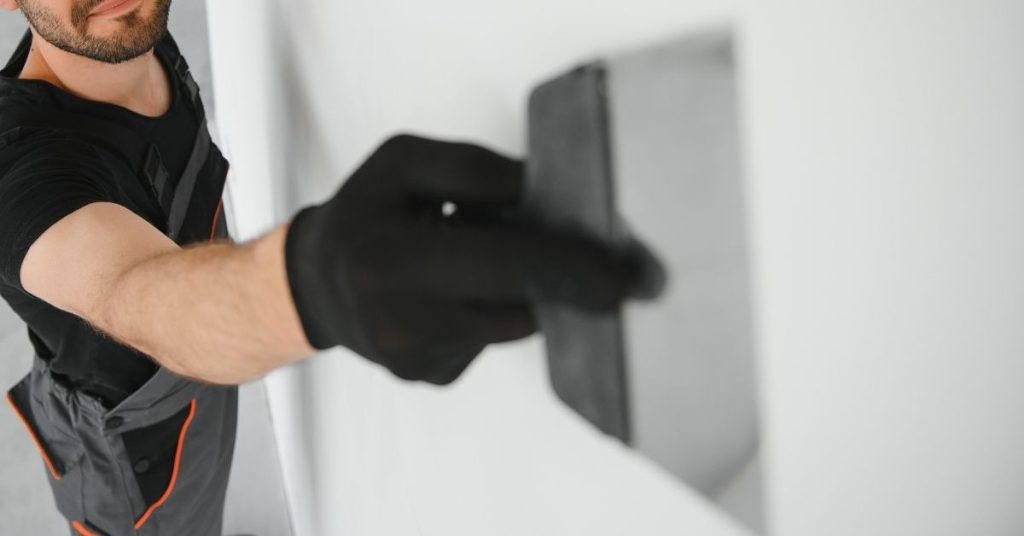
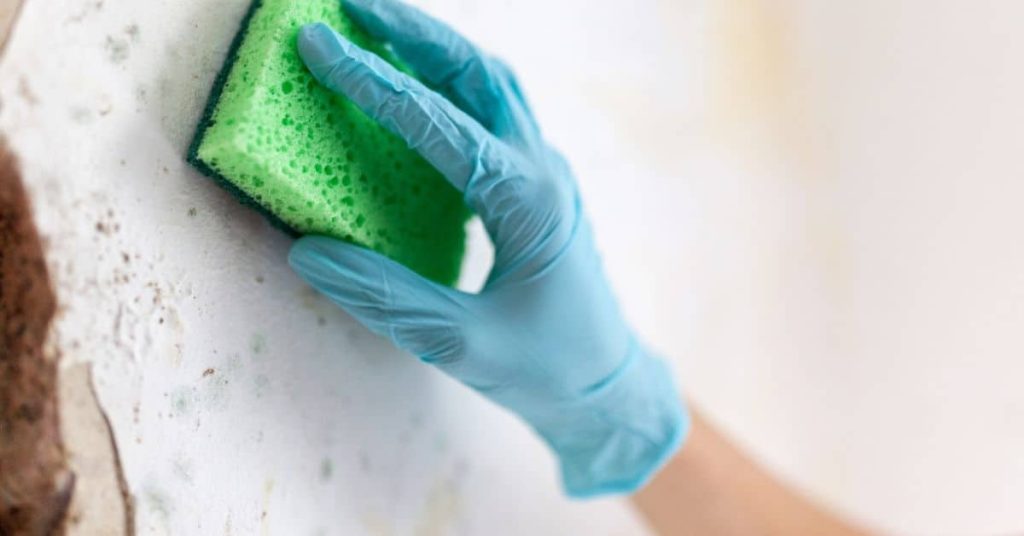
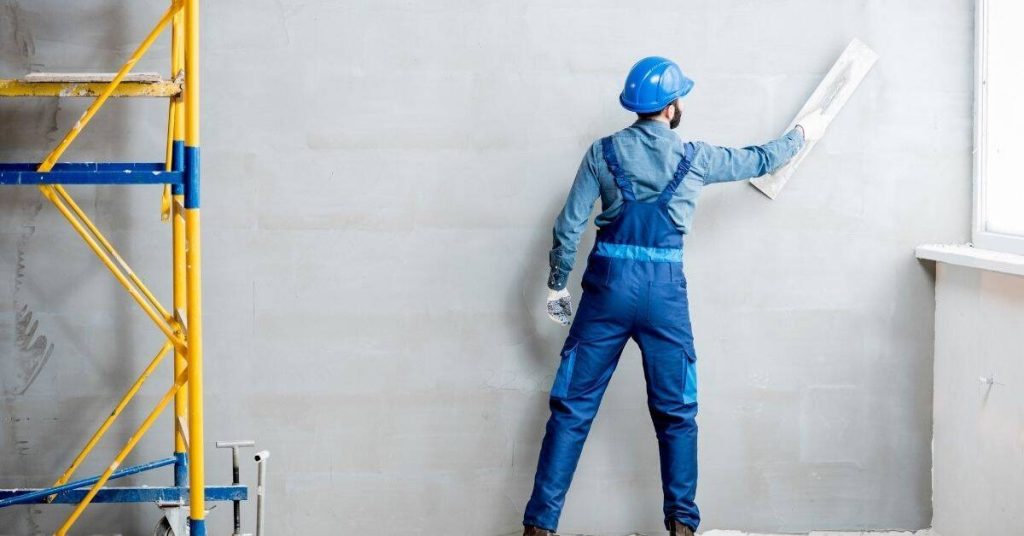
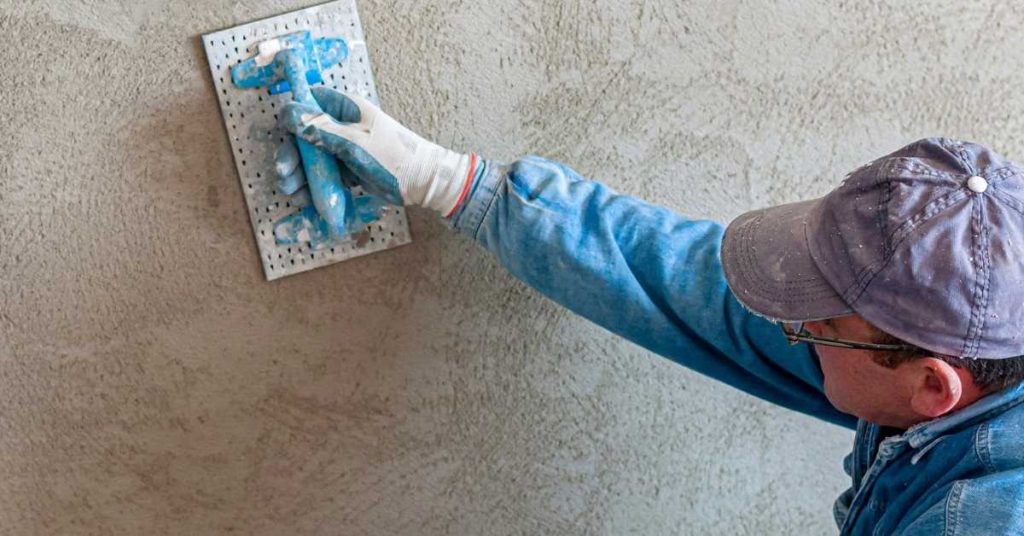
Introduction Traditional plaster corners without metal beads are built by floating plaster to a clean, sharp edge. Key takeaways Prepare raw corner by removing paint, dust, and protrusions for plaster bonding. Establish guides and screeds to create a true 90-degree plaster edge. Apply backing coat evenly before corner float to avoid laitance. Use a controlled […]

Traditional Plaster Corners Without Metal Bead: A Clean Corner-Float Method Read More »

Worker smoothing plaster on wall with trowel

Plaster Near Masonry Chimneys: Expansion Gaps That Prevent Heat-Cycle Cracks

Introduction Expansion gaps between plaster and masonry chimneys help prevent cracks from heating and cooling. When the chimney heats up, the brick or metal behind the plaster expands and the plaster needs room to move. Without a gap, cracks can form as parts push against each other. To set this up during a DIY job,

Plaster Near Masonry Chimneys: Expansion Gaps That Prevent Heat-Cycle Cracks Read More »

Hand smoothing lime plaster on wall with trowel

Lime Plaster in Basements: Moisture Testing, Vapor Drive, and Paint Choices

Introduction Lime plaster in basements is a breathable plaster finish that helps manage moisture. It relies on lime’s chemistry to let vapor pass while providing a durable coat. This DIY approach requires careful moisture testing and proper surface prep. Moisture testing, understanding vapor drive, and choosing compatible paints matter for long-term performance. Check product labels,

Lime Plaster in Basements: Moisture Testing, Vapor Drive, and Paint Choices Read More »

Hand in blue glove cleaning white wall with green sponge

Cleaning and Resealing Polished Plaster: Soap Scum, Dull Spots, and Refresh Coats

Introduction Cleaning and resealing polished plaster means removing soap scum and dull spots and applying a fresh protective coat. This is a hands-on DIY job that restores the surface without tearing it out. Expect a light scrubbing, careful rinse, and a new sealant layer following the manufacturer’s instructions. Before you start, check the product labels

Cleaning and Resealing Polished Plaster: Soap Scum, Dull Spots, and Refresh Coats Read More »

Hand applying plaster on wall with metal trowel

Clay Plaster Dent Repairs: Spot Blends, Burnish Timing, and Invisible Touch-Ups

Introduction Clay plaster dent repairs are about filling dents with clay plaster, blending the patch to the surrounding wall, and keeping the finish invisible. This is a hands-on, small-mesh job you can tackle with basic tools and careful timing. You’ll spot blend by feathering edges and adjusting texture until the repaired area matches the wall.

Clay Plaster Dent Repairs: Spot Blends, Burnish Timing, and Invisible Touch-Ups Read More »

Close-up of textured polished plaster wall surface

Sanding vs Burnishing Polished Plaster: Fixing Trowel Tracks Without Haze

Introduction Sanding and burnishing polished plaster is the process of smoothing and finishing the surface to remove trowel tracks and haze. This is done after the plaster has cured enough to work but while it’s still workable, using gentle abrasion and polish. The goal is a uniform, matte or soft sheen without gouges. Before you

Sanding vs Burnishing Polished Plaster: Fixing Trowel Tracks Without Haze Read More »

Worker smoothing plaster wall with trowel near scaffold

Hanging Heavy Objects on Plaster: Toggles, Backing, and Safer Load Paths

Introduction Hanging heavy objects on plaster requires proper backing and safe load paths. Drilling through plaster without a backing can crack the wall, so you need an anchor plan that holds. Always follow the hardware manufacturer’s instructions for plaster surfaces. Begin by locating solid backing or using toggles and backing material designed for plaster. Plan

Hanging Heavy Objects on Plaster: Toggles, Backing, and Safer Load Paths Read More »

Close-up of textured white plaster surface

Flexible Caulks for Plaster Transitions: What Moves Without Staining

Introduction Flexible caulks for plaster transitions are sealants that move with the wall without staining. They help bridge gaps where plaster, drywall, and moldings meet. Choose a product labeled for interior use and compatible with plaster. In a DIY setup, prep clean edges, shape the bead, and smooth the joint with a damp finger. Always

Flexible Caulks for Plaster Transitions: What Moves Without Staining Read More »

close up of white textured hardwall plaster surface

Hairline Crazing in Hardwall Plaster: Surface Keying and Breathable Topcoats

Introduction Hairline crazing in hardwall plaster is fine cracks that form on the surface when the plaster dries and the finish isn’t keyed well enough for the next coat. It happens when the surface isn’t gripping the base layer, or small movements stress the top layers. The fix starts with proper surface keying and choosing

Hairline Crazing in Hardwall Plaster: Surface Keying and Breathable Topcoats Read More »

Man smoothing plaster on wall with float tool

Pozzolans in Lime Plaster: Metakaolin Tradeoffs for Strength and Workability

Introduction Pozzolans in lime plaster are reactive materials that improve set and workability when mixed with lime. Metakaolin is a common pozzolan used with lime plaster to balance strength and plasticity, but it can also affect curing and finish. In this intro, you’ll get a plain-language overview of what to expect when you mix metakaolin

Pozzolans in Lime Plaster: Metakaolin Tradeoffs for Strength and Workability Read More »