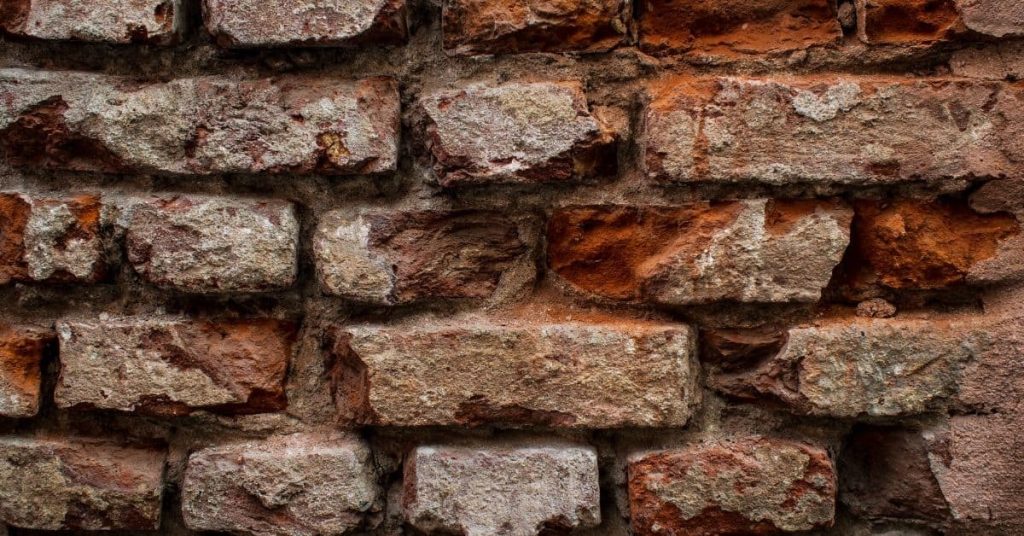
Raking out brick joints safely: depth targets and avoiding chipped arrises
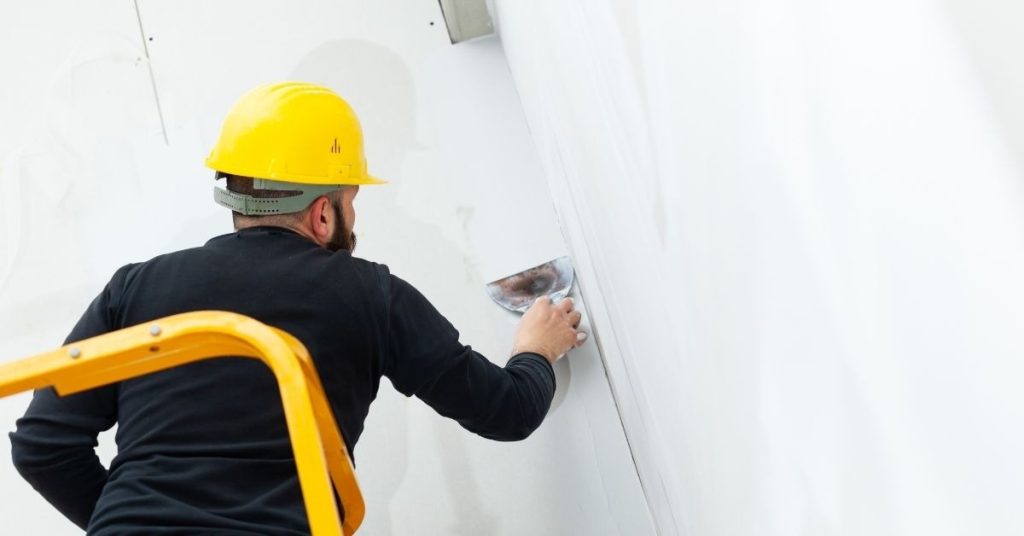
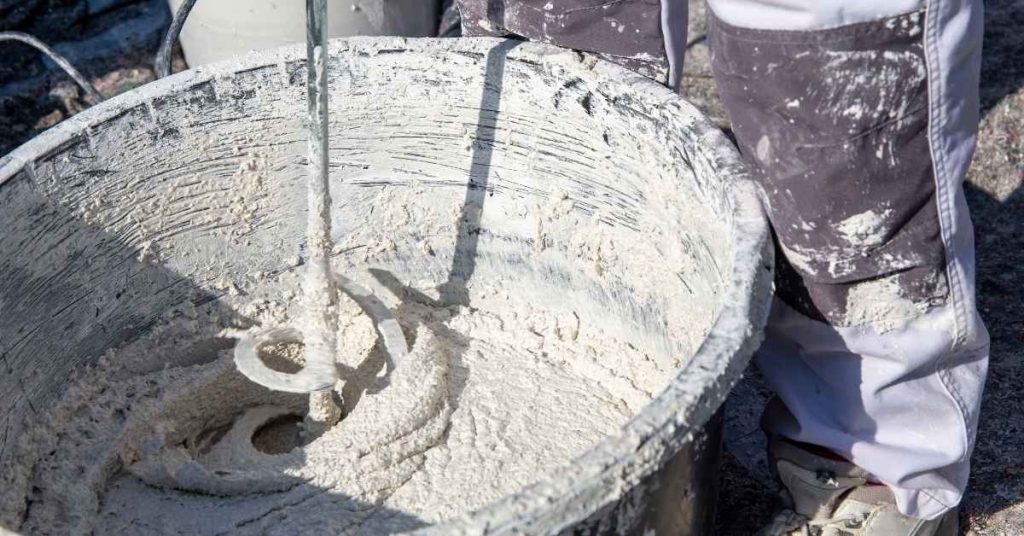
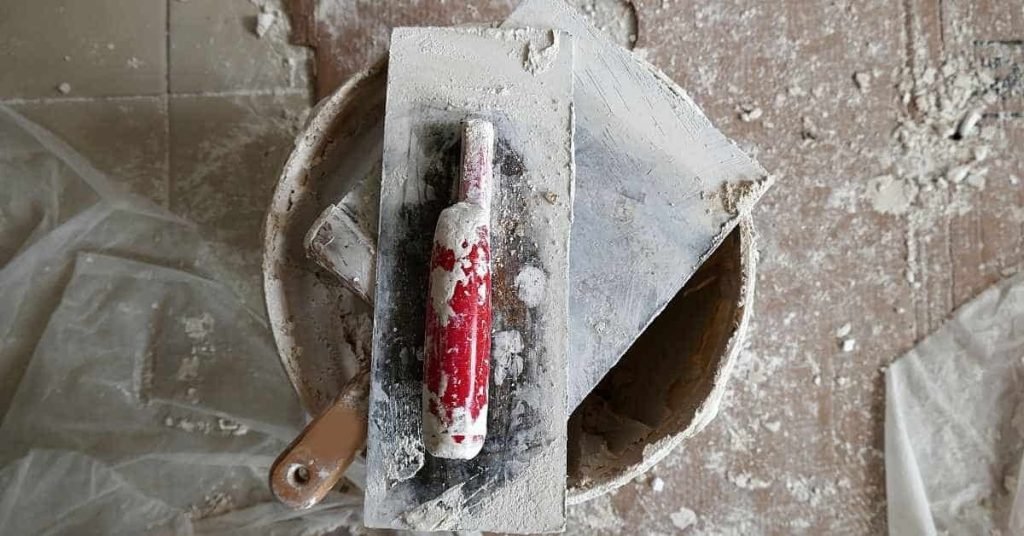
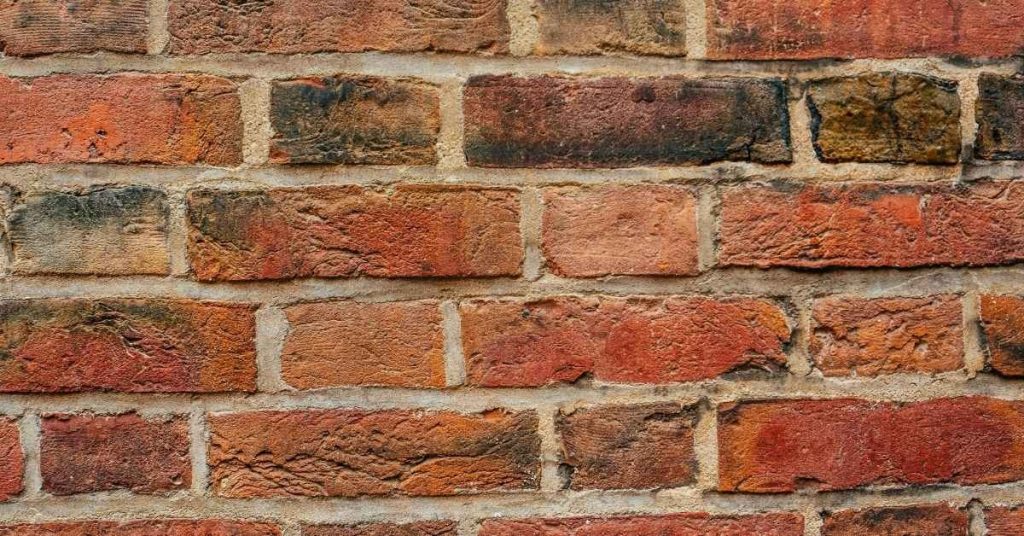
Introduction Raking out brick joints safely means removing deteriorated mortar from between bricks to a controlled depth while protecting the surrounding masonry. This hands-on task requires the right tools and steady technique to avoid damaging arrises. A sensible approach focuses on safe depth targets and careful removal to prevent chipping. Choose appropriate tools designed for […]
Raking out brick joints safely: depth targets and avoiding chipped arrises Read More »